Scope
In this tutorial, you will see how to create a segment for a delivery that targets all the contacts who have clicked on a particular product in the last 15 days, without buying it.
Procedure
Often, people navigate through an e-commerce site and look at the same product several times, but don’t buy it. Why? Perhaps it’s because they are not 100% convinced about their choice, or maybe they see it at just the wrong time… when they are travelling to work, or while they are drinking a quick espresso in a coffee bar.
It’s important for a brand to know the products that have been looked at and caught a customer’s eye. After all, a specially tailored message could reawake interest and lead to a successful sale. But how do you do it?
First, you need to create a segment that includes all the customers who, like Angela, clicked and viewed red shoes on the e-commerce website, but didn’t complete the purchase within an appropriate time. Then, you can use the segment to send the identified contacts just the right message.
To create the segment, do the following:
- Sign in to the platform (link) and go to Contactplan.
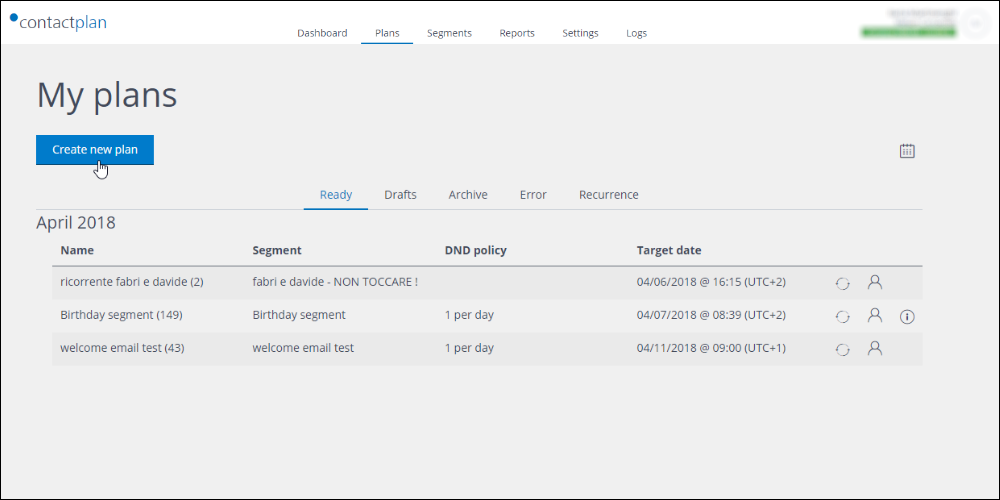
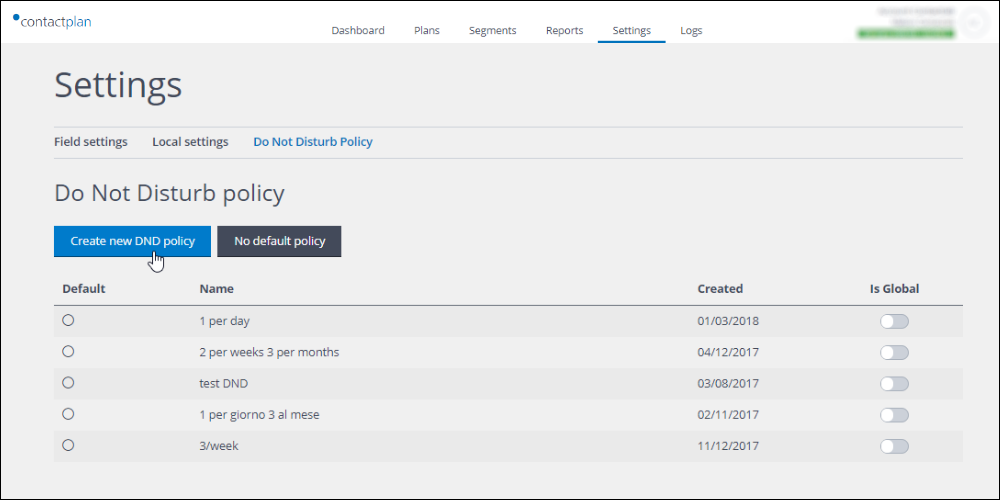
- Click the Segments tab in the Control bar, at the top of the page, to display the My segments
- Click Create new segment.
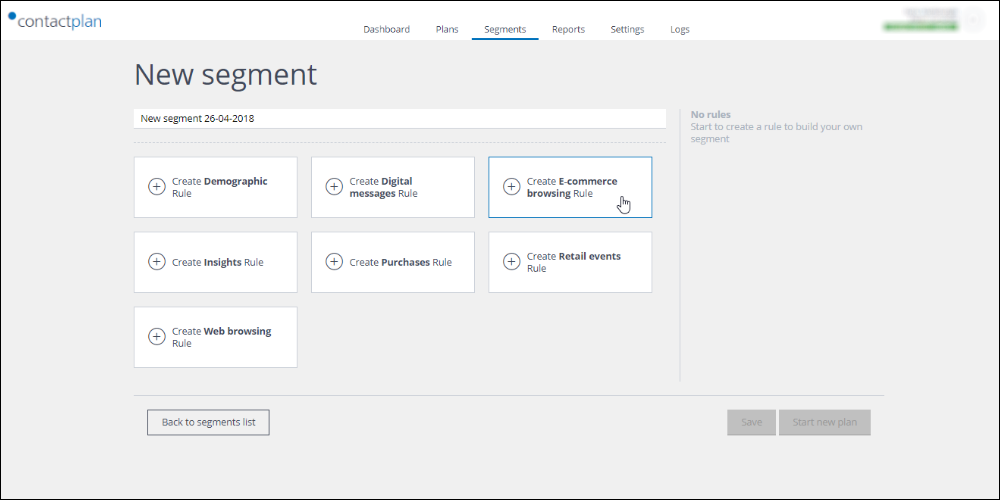
The New segment page displays.
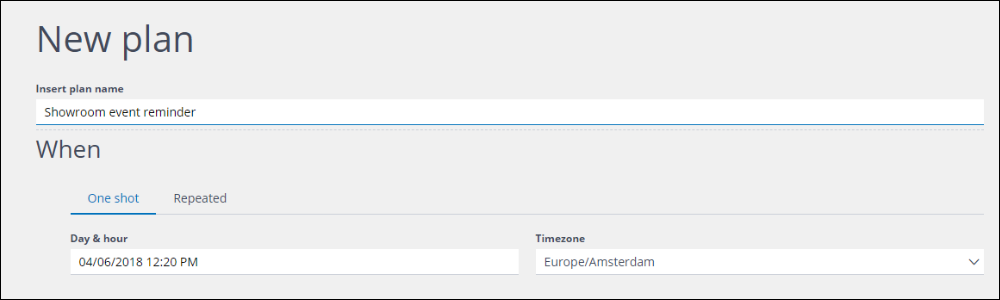
See Creating new segments for more details. - Give the segment a unique and recognizable name, for example, ‘Red Shoes viewed without purchase’.
- Click Create E-commerce browsing Rule, followed by Create custom Rule, on the next page.
See Creating an e-commerce rule for more details.
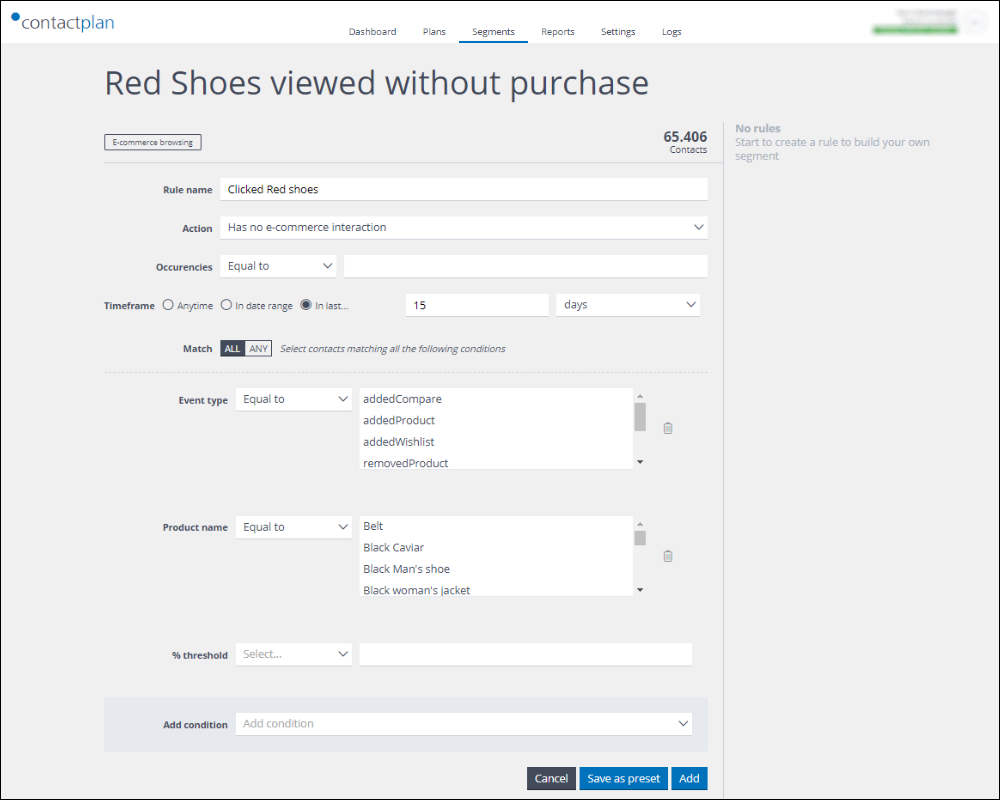
- Give the rule a name of your choice, for example, ‘Clicked Red shoes’.
- Under Action, select Has e-commerce interaction.
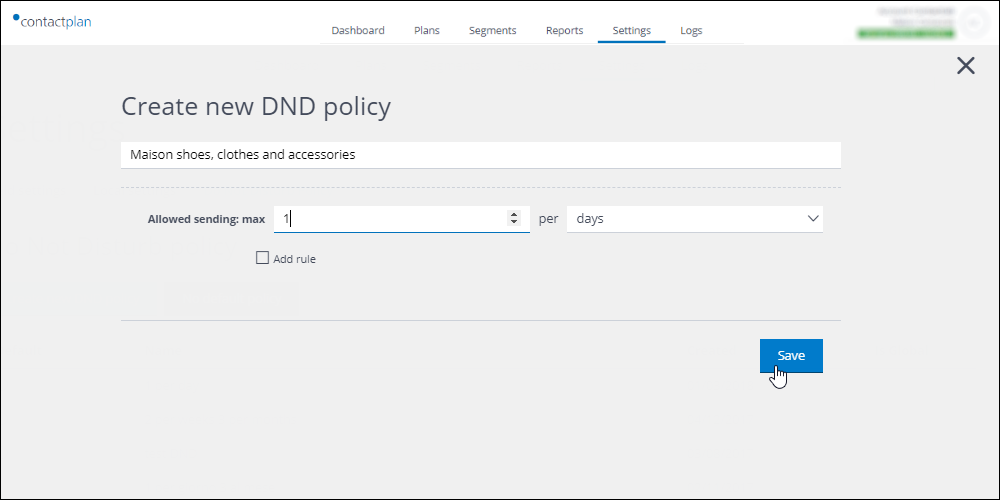
- Under Time frame, select In last… and enter 15 days in the appropriate fields.
- Under Match, select ALL.
- Under Event type select Equal to and viewed product.
- Under Product name select Equal to and enter the name of the product in which you are interested.
For example, ‘Red Shoes’. - When you have finished defining the conditions that identify the customers who have viewed the product, click Add.
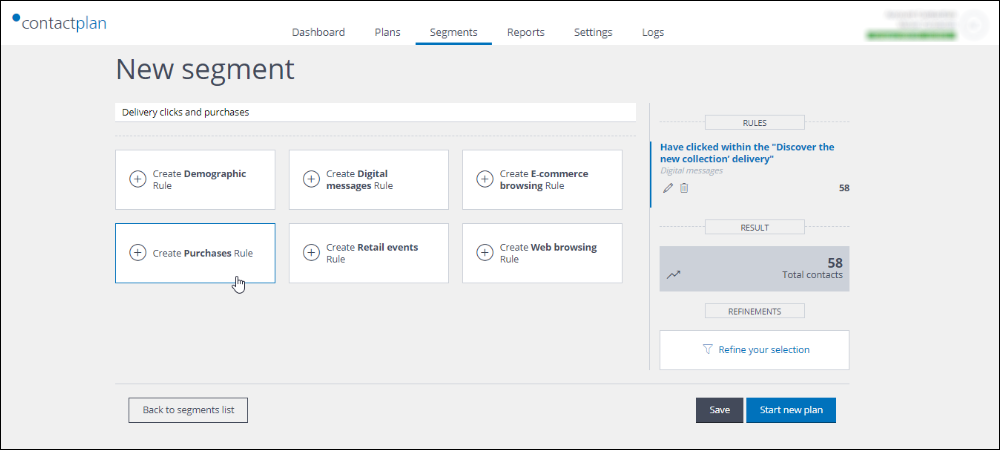
Next, you need to create a second rule, which identifies all those contacts who didn’t buy anything in the last 15 days.
- On the New segment page, click Create Purchases Rule, followed by Create custom Rule.
See Creating a purchases rule for more details.
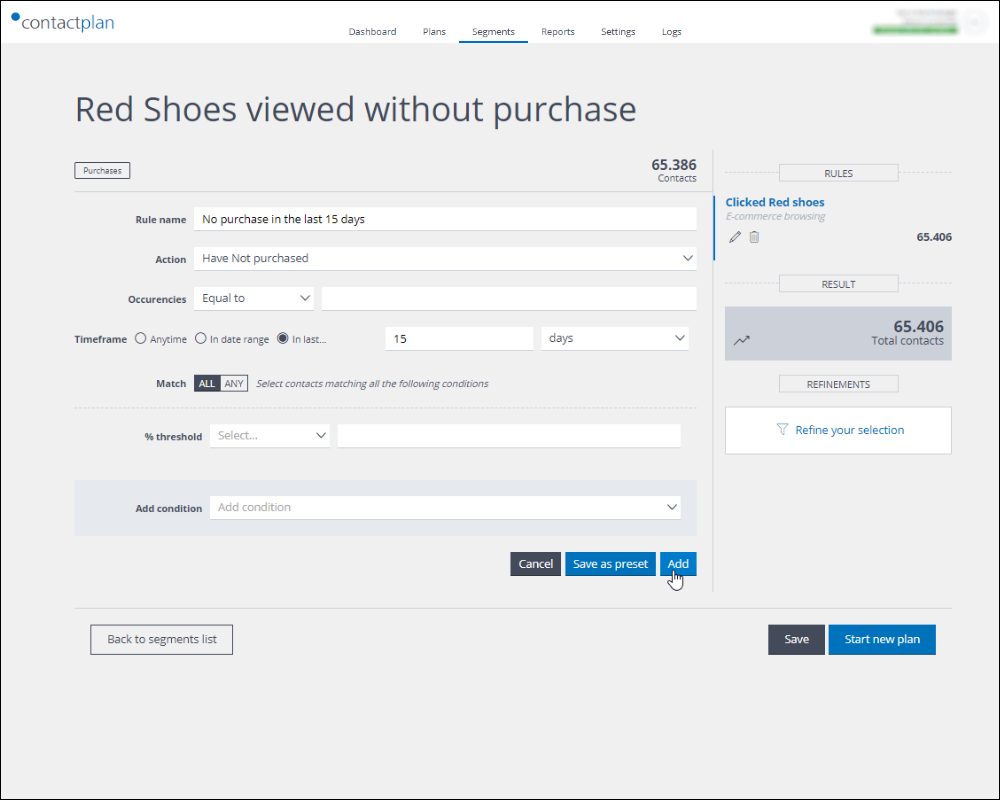
- Give the rule a name of your choice, for example, ‘No purchase in the last 15 days’.
- Under Action, select Have Not purchased.
- Under Time frame, select In last… and enter 15 days in the appropriate fields.
- Under Match, select ALL.
- When you have finished defining the conditions, click Add.
- In the Segment Summary panel, positioned to the right of the New segment page, click the AND interaction condition, which is located between the two rules.
This ensures that only the contacts that conform with both rules are included in the segment. For the example used here, this means that only those who viewed the product at least once in the last 15 days, but did not buy it, are selected. - Click Save to be able to apply the segment to future deliveries, or Start new plan, to use it immediately.
Now, you can continue by creating a plan and an appropriately interesting message, to encourage the contacts to complete their purchase.
For more information, see the Contactplan Guide, or contact our Customer Care.
Read more