
Scope
In this tutorial, you will learn what a plan is, how to create one using the Contactplan UI, and how to use it to generate a filter directly in Contactsend.
What is a plan?
A plan defines how and when to carry out a specific activity, using a selected segment. For example, you can create a plan that includes all the information required to send a marketing campaign, which is scheduled to take place on a particular date and at the appropriate time. But in this tutorial, you’ll use the plan that you create to generate a filter in Contactsend.
See this page for more about creating plans, and the ‘How to create a segment’ tutorial for a brief introduction to segments.
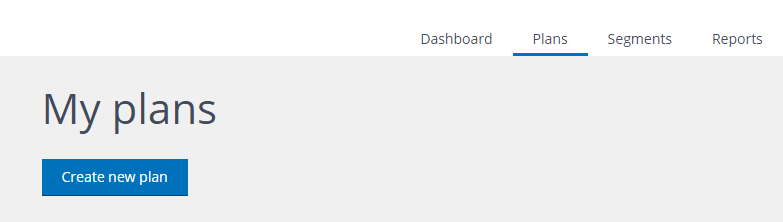
Click the Plans tab in the Contactplan UI to manage existing plans, or create new ones.
How to create a new plan
1) Click the Plans tab if it is not already selected, then click Create new plan.
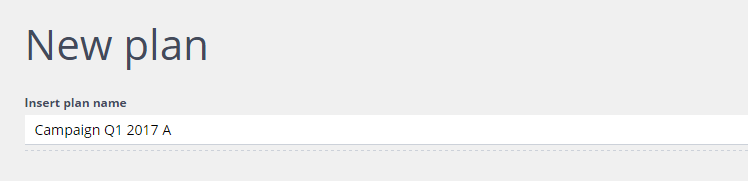
2) On the New plan page, give the plan a recognizable name.
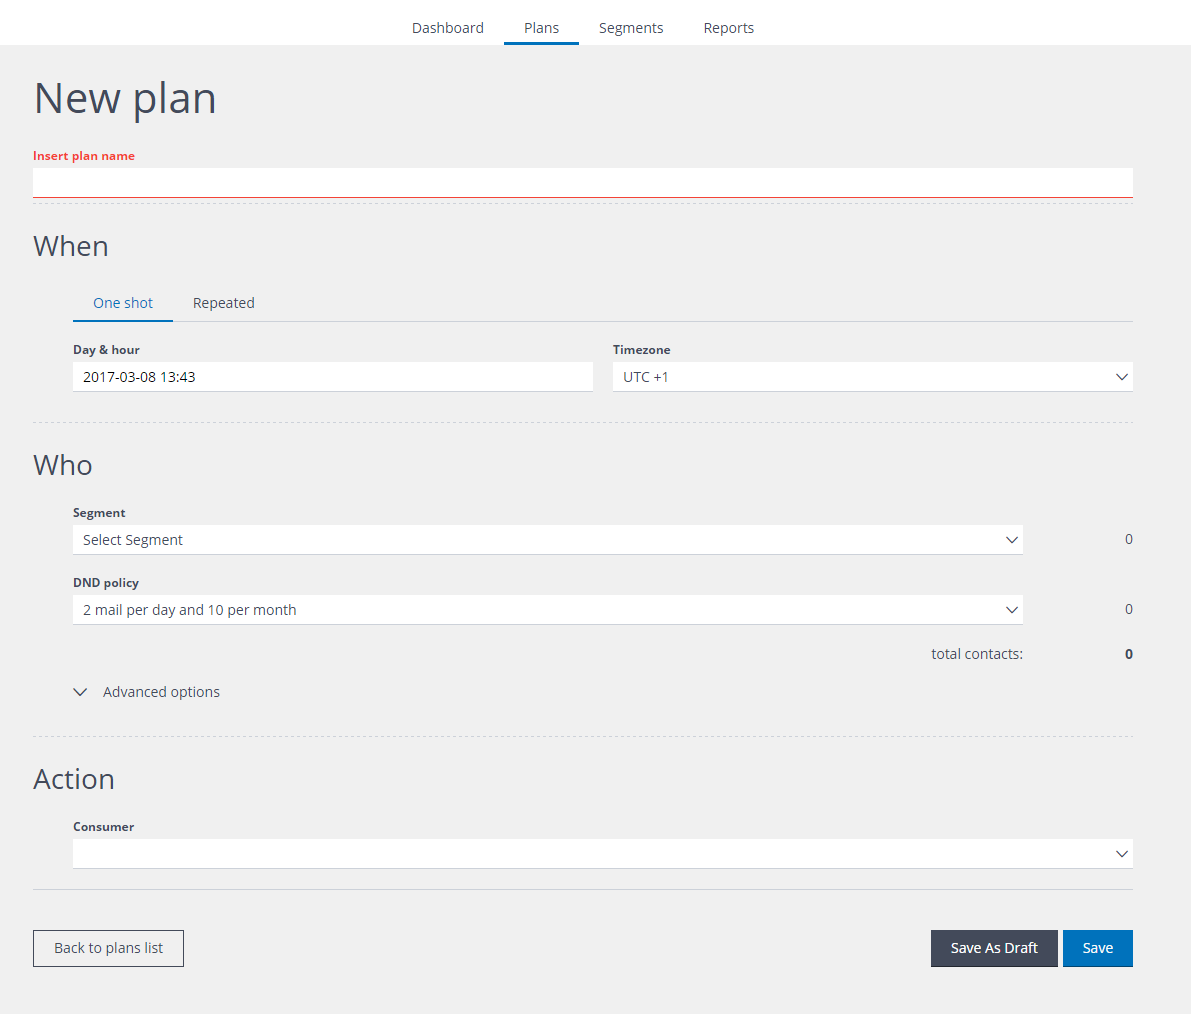
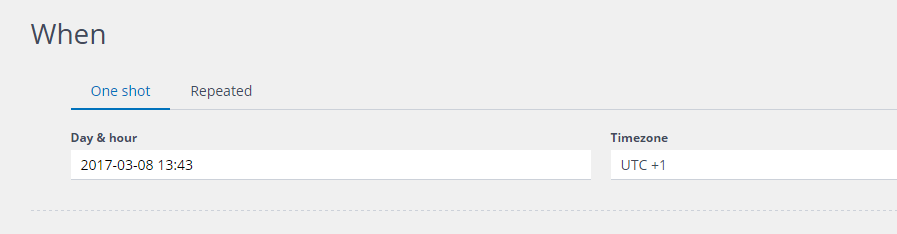
3) Under When, decide whether the plan should be run just once, or if it should be recurring. Click:
- One shot for a plan that takes place once.
- Repeated for a recurring activity.
Note:
The examples in this tutorial assume that you have selected one shot, and have not changed the default date and time. This will ensure that the plan is run as soon as it is saved.
4) Under Who, select the Segment that is to be used to generate the Contactsend filter, from the drop-down list.
Under DND policy, you can also select one of the available Do Not Disturb policies, if required. This enables you to automatically limit the number of communications that a contact can receive, within a defined time period.
See this page for more about DND policies.
In the example below, a DND policy has been selected that allows the relevant contacts to receive a maximum of two emails each day, and up to ten per month.
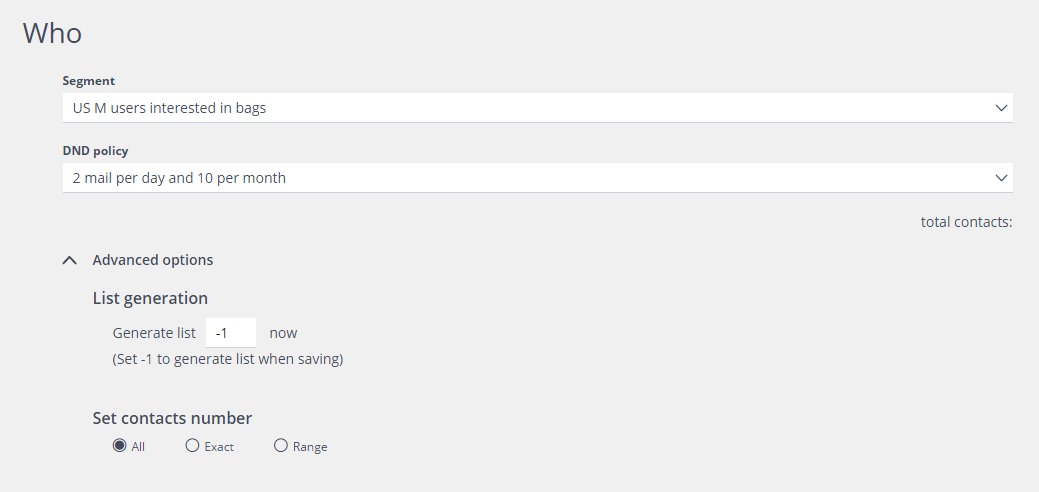
5) The Advanced options enable you to:
Determine, under List generation, when the contact list that will be used for the activity, is to be generated.
Choose, under Set contacts number, how many of the contacts in the list are to be used for the activity. Note:
The examples in this tutorial assume that you have not used the Advanced options, and so the default will be applied, to generate the list as soon as the plan is saved.
See the ‘How to create a plan that makes an email delivery through Contactsend’ tutorial for more about Advanced options.
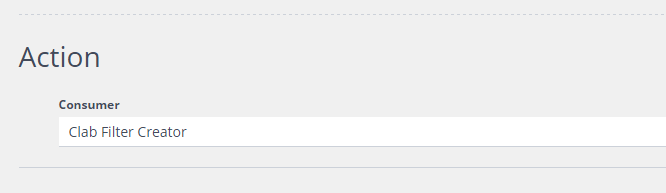
6) Under Action, select Clab Filter Creator from the Consumer drop-down list.
This enables you to create a filter for use in Contactsend.
Depending upon your system settings, the other options may include:
- Clab Campaign Creator
Enables you to create an email campaign for the plan, which will then be sent using Contactsend. - Consumer SFTP plugin
Defines the storage location to which the contact list associated with the plan is exported.
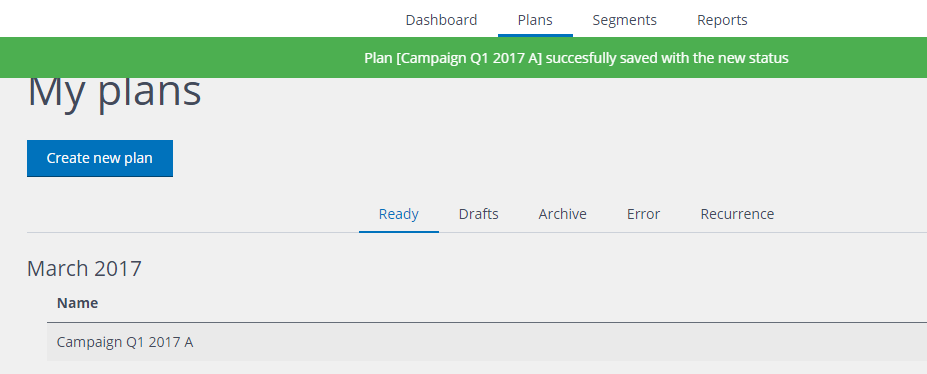
7) Click Save, positioned at the foot of the page, to activate your plan as you have defined, or click Save As Draft, to store your plan for later editing.

Note:
If you don’t click Save or Save As Draft and you navigate away from the New plan page, the plan that you have created will be lost.
When you save your plan, it is included in the list on the My plans page.
8) After you have clicked Save, log in to Contactsend, navigate to Configure, select the appropriate database and click manage filters. You will see that two new filters have been created by your plan. Their names include the plan name that you defined, but each of them has either a [test] or a [real] prefix.

Note:
Currently Contactplan creates [test] filters that are empty. The [real] filters are, however, populated with contacts, and are ready for you to carry out the appropriate activity in Contactsend.