
Envisage creating a well targeted and personalized email delivery in a few simple, easy-to-follow stages…
In this tutorial, you will learn how to use Send and the new Email Designer content editor to create powerful, personalized and effective email deliveries, which you can deploy just when you require.
Just step this way…
As an example, imagine you have decided that you want to invite your top spending customers to a special local event, where they can preview your latest collection. The teaser email should give each contact the opportunity to choose exactly which event they want to attend, and let you know whether they will come alone, or with friends.
Note:
For a complete description of all the steps and controls mentioned in the following example, as well as other available options, see the Email deliveries page in the Send Guide.
Do the following:
- Sign in to Send, then click Create > Email campaign.
The list of Email groups displays. - Locate the appropriate group and click Create delivery to display the Procedure selection page, where you should select Create a new campaign.
- On the Delivery parameters page, under Delivery title, enter a name for the delivery, or leave the field blank if you want to use the email subject instead.
- Under Campaign filter, click Select a filter and choose the Best spenders one from the drop-down list, which you created earlier in Plan.
See the Plan Guide for more about creating filters for use in Send. - Under Message format, ensure that HTML and plain text is selected, together with Use dynamic text under Options, and Track opens and Track clicks under Statistics.
- Click Next to display the Message content page.
- After you have completed the From and Reply to fields, enter the Email subject, for example, ‘A special opening, just for you …’
- Don’t forget to start personalizing the message by adding the contact’s first name to the subject, as follows:
- Position the mouse cursor after ‘just for you ‘, then under Insert, select FirstName (or whatever the column is called in your database) from the drop-down list and click +.
The appropriate string is added to the email subject field.
- Position the mouse cursor after ‘just for you ‘, then under Insert, select FirstName (or whatever the column is called in your database) from the drop-down list and click +.
- Under the HTML version panel, click Email Designer.
The Email Designer Template management page displays in an overlay window.
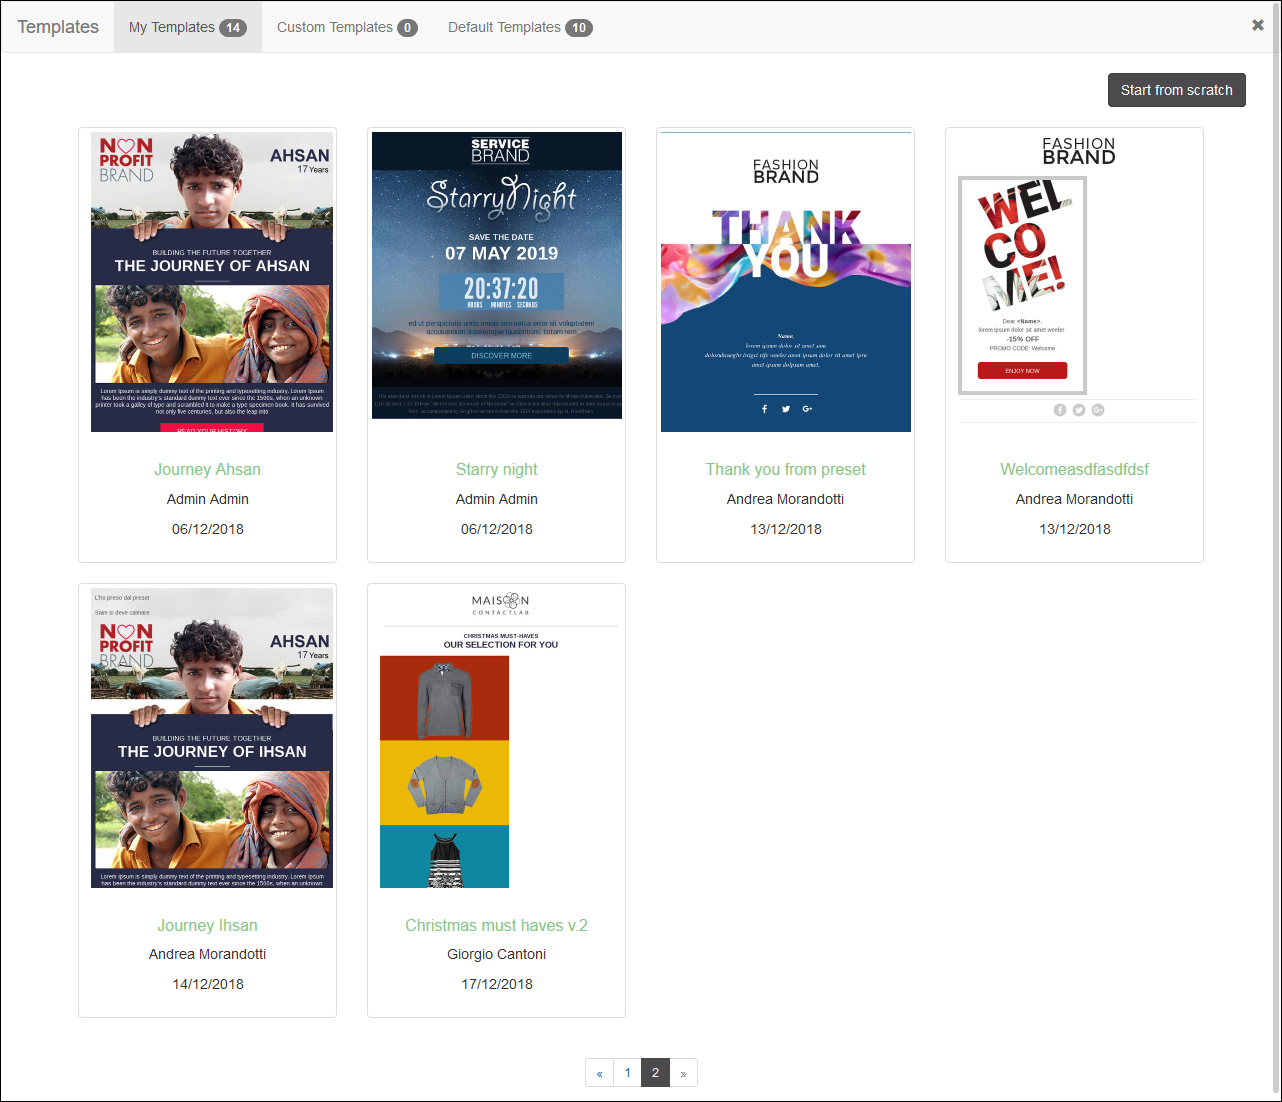
Example of the Email Designer Template management page
- Click the appropriate template, followed by Open.
For this example, the Starry Night template has been selected, but you are free to use any template that you feel is appropriate.
The template displays in the Content Editing page.

Example of a template open in the Email Designer Content Editing page
- Edit the template as required, for example:
- Add your company logo at the top.
- Edit the date of the event.
- Enter an appropriate description of the event with any dynamic text that may be required.
- Configure the Discover More button.
For example, create a link to a web page where the recipient can select the appropriate local event, download tickets, and let you know how many people will be attending.
- When you are happy with the email content, click Use in Contactsend.
Email Designer closes, and the email content HTML is transferred to the HTML version panel of the Contactsend Message content page. - Under Plain text version, click Plain text from HTML.
The plain text is automatically generated from the HTML version. - Under Preview on different clients, click Generate preview to see how the message will display on different devices.
- When you are finished, click Next to display the Link tracking page.
If there are any problems with the HTML version, notices display. If so, correct any issues, then click Next again. - Click Check the links to test that they work correctly, then click Next.
- On the Summary page, review the details of the email and, if you want to make any changes, click Back until you have returned to the appropriate page.
- Under Analysis, check whether the message may be flagged as spam, or whether any links include IP addresses instead of text-based URLs.
- When you have finished, click Next to display the Delivery page.
- Here, you can send a test delivery, which is highly recommended, and remove duplicate addresses.
- Select Confirm your campaign deployment from the Communicate section and click Extract the addresses from the database only at the time of mailing.
- Click Finish to display the Email campaign confirmation page, then Go to communicate section to complete the deployment of the delivery, by sending it immediately or on a later date.
Now, you can stop imagining, and create a well targeted and personalized email delivery as simply as 1, 2, 3, with Send and Email Designer.
See the Send Guide for more about creating email deliveries and using Email Designer, or contact our Customer Care for further details.