
Scope
In this tutorial you will discover what Facebook Lead Ads are, how they can quickly help you to acquire contacts, and how they integrate with Contactsend.
Procedure
As the name implies, Facebook Lead Ads are advertisements that allow contact details to be collected through Facebook. When clicked, a Lead Ad opens a simple form, where people can show interest in a product or service by entering their details, enabling the company to make contact later as a result. The form fields can include the contact’s email address, a newsletter subscription option, or a follow-up request and similar.
Contactsend can be integrated with Facebook Lead Ads in just a few steps, enabling the contact data to be stored in a new or pre-existing database.
Note:
To be able to integrate Facebook Lead Ads, you need to have linked your Facebook Ads account with Contactsend. If you haven’t already linked your account, see this tutorial for all the required steps.
The following describes how to carry out the integration with an existing Contactsend database. If you want to create a new database for Facebook Lead Ads integration, see the appropriate section in the Contactsend Guide for the relevant steps. Once you have created the database, continue as described below.
To integrate Facebook Lead Ads with Contactsend, do the following:
- Sign in to the platform and click Configure > User db.
The User database page displays. - Click the required database, and under Integrations, click Facebook Lead Ads.
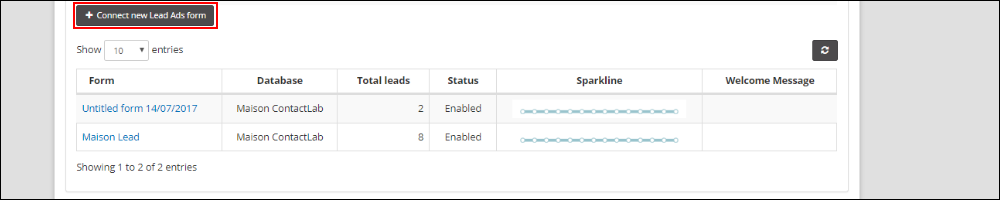
The Facebook page displays.

- Click + Connect new Lead Ads form.
The Select your Facebook Lead Ads form page displays.
- Select the appropriate Facebook Integration, Facebook Pages and Facebook Lead Ads form
The Form fields configuration displays.
Note:
To integrate a form, it must already have been created in Facebook. - Under Fields configuration, select the Facebook form fields that you want to link to the database and automatically synchronize.
You can also synchronize metadata such as adgroup_id, ad_id, created_time, leadgen_id, page_id and form_id. - Under DB field, select the field in the database where the content of the relevant form field should be stored.
For example, you may want to store the email form field contents in the EMAIL database field.
Note:
You can only associate a form field with an existing database field. If you require additional database fields, you need to add them prior to carrying out this step. See the Contactsend Guide for details. - Under Source identifier, enter the name of a field that should be used to save a constant value.
This acts as a tag in the database to identify the form from which lead entries have come.
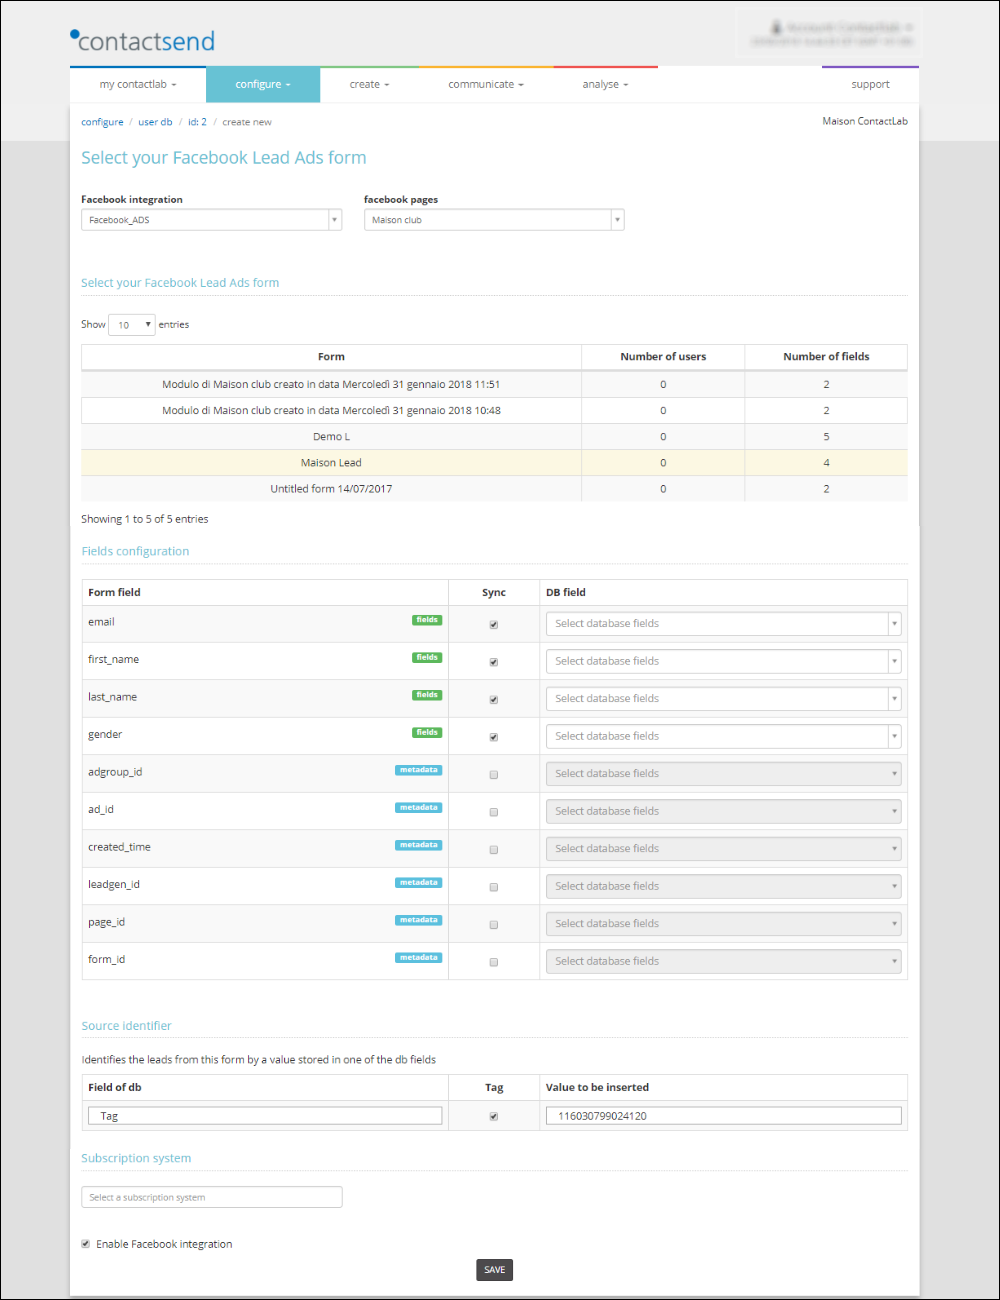
- Select Enable Facebook integration.
- When you are finished, click SAVE.
You are returned to the Lead Ads tab of the Facebook page, and the form is added to the Form list.
When you create a campaign in Facebook, the Placement options enable you to choose whether it should be shown in Instagram as well, or just Facebook.
Note:
If you want to distinguish between forms received from Facebook and Instagram platforms, you need to give them separate names. Facebook metadata does not identify forms according to their placement.
Once Facebook Lead Ads have been integrated with Contactsend, you can proceed with an automatic message delivery to all your new contacts. For example, to send a welcome message. See this tutorial to find out more.