
If you use the integration between Send and Facebook Lead Ads, you need to renew the access authorization permissions for the Facebook pages to which you ad. campaigns are connected.
Facebook recently changed its authorization policies and is now asking for explicit permissions to access pages connected to advertising accounts. It is important that you immediately update the permissions for your Facebook integration. From February 1st, 2019, you can ONLY create new connections between your Send databases and Lead Ads campaigns IF the new permissions are correctly set.
Don’t worry, you can do it in minutes from within the Send UI!
Here’s how…
- Log in to Send and access the Configure > Integrations > Facebook section.
- Click the Authorizations tab and then the Pencil icon (edit) next to your advertising account.
- In the next screen, click the blue Continue with Facebook button.
- If you are not currently logged in to Facebook, you are asked to enter your username and password.
Note:
Log in with the profile that has access to your Facebook advertising account.
Once your identity is confirmed, you’ll see the following dialogue screen:
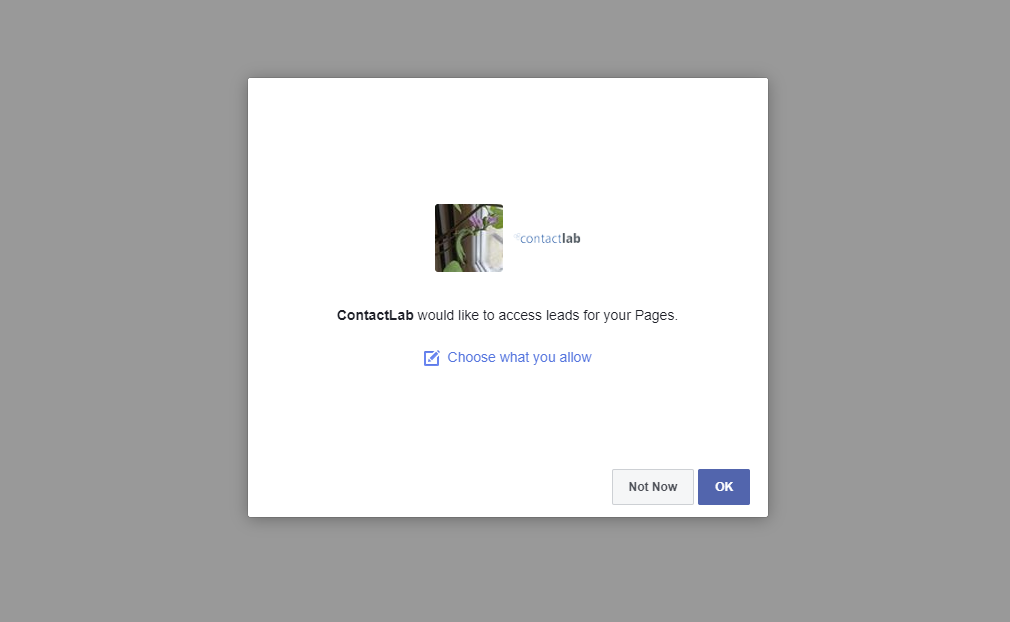
- If you click the OK button, you automatically authorize access to all relevant pages.
In this case, the dialogue window closes, and you return to the Send page. - Now just click the Save button, to confirm your changes.
You are finished. The permissions are correctly set, and you can continue using the integration with all your Lead Ads.
Can I see the status of each authorization?
Sure! If you want to check which Facebook pages you are going to authorize before you click OK:
- Click the Choose what you allow link.
A list of your pages is displayed.

- The first option you see at the top, Access leads for your Pages, must be enabled.
If you disable this, the Send integration won’t be allowed to access data from any of your pages and Lead Ads forms. - You can individually set the permissions for the pages you see in the list under Pages.
- When you are finished, click OK.
You return to Send. - Click the Save button to confirm your changes.
Update your permissions right now and continue to exploit the full potential of the integration between Facebook and the Send module of the Contactlab Marketing Cloud.
If you have doubts or experience any difficulties, don’t hesitate to contact our Customer Service.