
Initial access
To start navigating access the platform and select Contactsend in the dashboard.
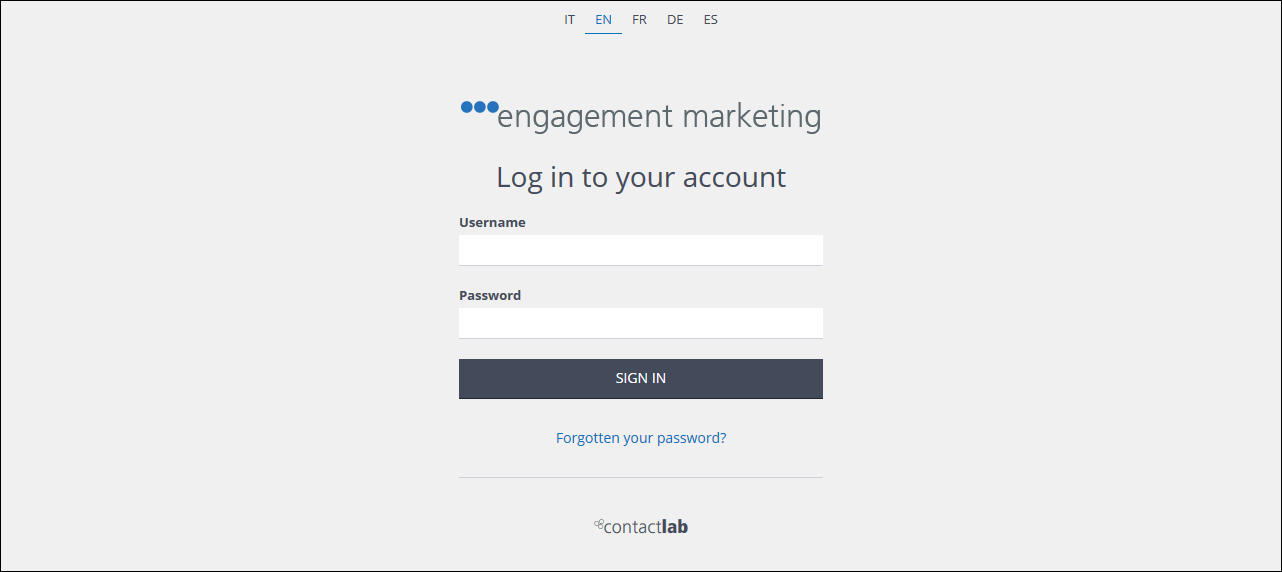
Figure 1
Password and PIN
Password and PIN are managed by the Accountcentral tool. Read the relevant guide for more information.
Accessing different sections of Contactsend
To access the different sections of Contactsend, such as my contactlab, configure, create, communicate or analyse, do one of the following:
- Click the appropriate section name in the main menu.
- Hover your mouse over the appropriate section name in the main menu to display further options, and click the appropriate subsection.
- Click the appropriate icon in the My Contactlab Shortcut widget panel (see below).
- Click the appropriate panel in the Welcome page (see below).
My Contactlab
The My contactlab section is where you can view and manage various user-related aspects of Contactsend. It is divided into several subsections:
- Profile
Enables you to:- Manage your profile.
- Change your preferences, password and email address.
- View the company profile, successful logins and failed logins.
- Team
Enables you to:- View the details of team members.
- Create and manage new users (for authorized users only).
- Define authorized IP addresses for accessing Contactsend (for authorized users only).
- Downloads
Enables you to:- See a list of files that have been requested in the last seven days.
- Download the files as needed.
- Request monitor
Enables you to see a list of pending or running requests. - Customisation
Enables you to select your company logo and include it in the Contactsend interface, or upload a suitable file. - Calendar
Enables you to create events and assign them to users in the team. - News archive
Enables you to view all the news about Contactsend.
The Dashboard
Once you have logged in with your Username and Password, the Homepage displays (figure 2). Because Contactsend allows every user to arrange their Homepage according to their needs, you can configure your personal dashboard as required.
For example, you can ensure you have quick and easy access to all the information you need, as well as the operations that you most frequently use, by choosing to display the appropriate widgets.
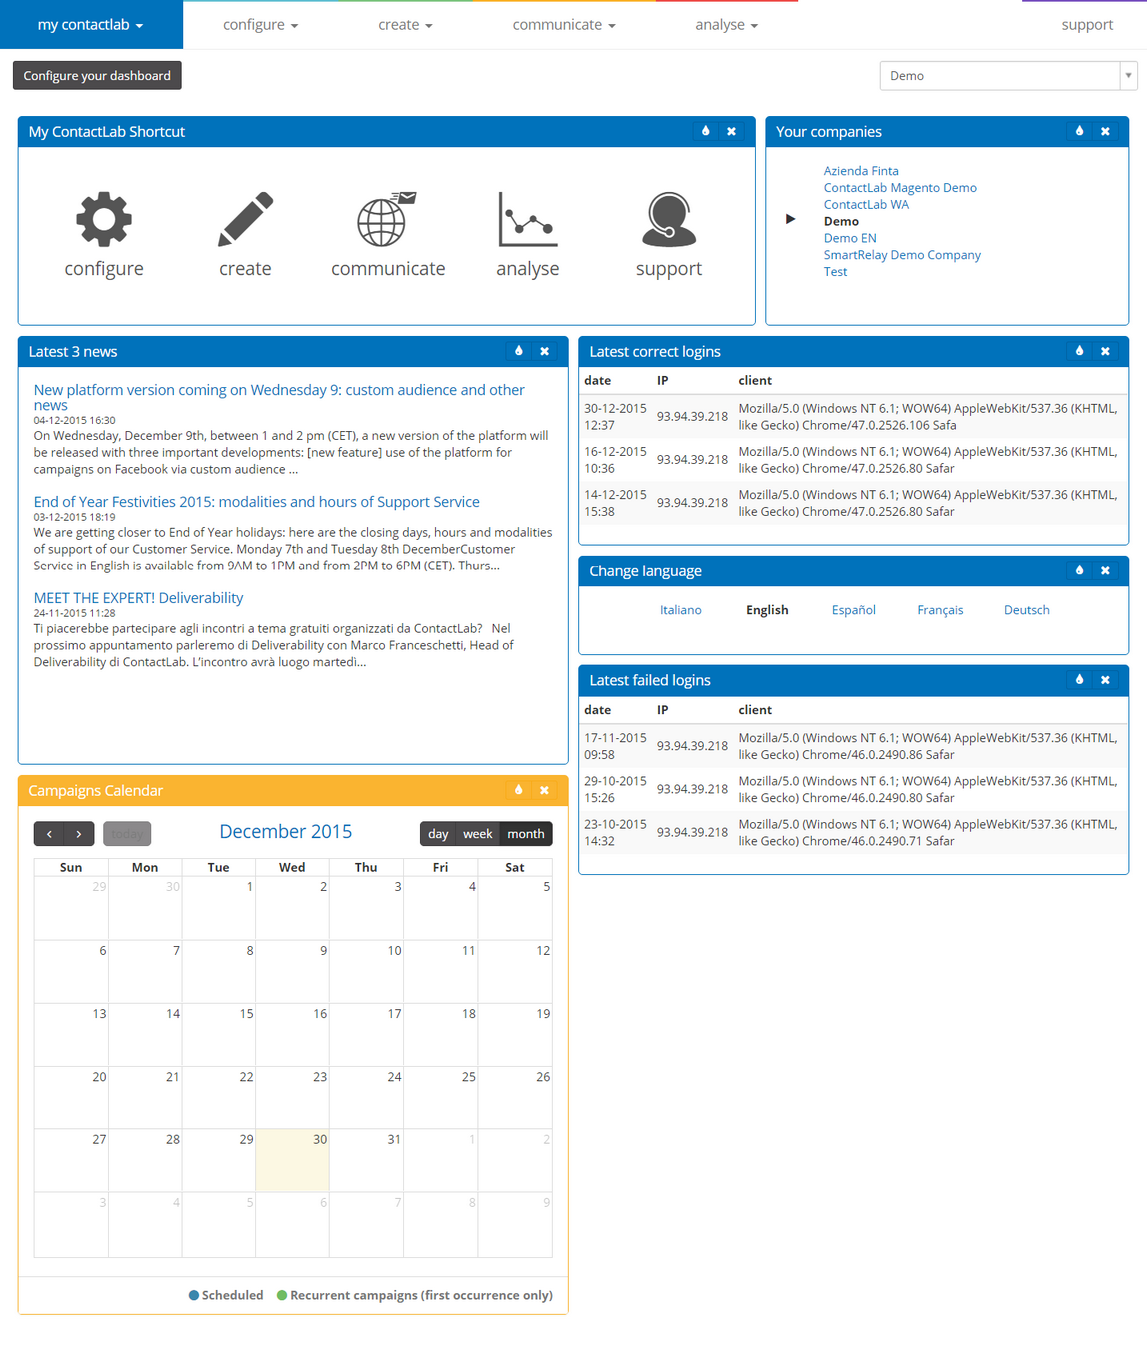
Figure 2
Default widgets
The default widgets include the following:
- The My Contactlab Shortcut.
Consists of the My Contactlab quick access menu, which is made up of five icons, representing:- The four main sections of Contactsend:
- Configure
- Create
- Communicate
- Analyse
- Support
Provides access to the online documentation and the support website.
- The four main sections of Contactsend:
- Your companies
Enables you to change the company you are working on, if you have access to more than one company. - Latest 3 news
Provides news about both Contactsend, such as new functionality, alerts, suggestions and similar, and digital messaging, for example, articles, legislation and so on.
We recommend that you always check to see if there is any recent news, to keep up-to-date with developments. - Latest correct logins
Displays the details of the last three successful login attempts. - Latest 3 failed logins
Displays the details of the last three failed login attempts.
To remove a default widget from you dashboard, click the X button, positioned to the right of the appropriate widget panel.
Note:
The user’s default time zone is displayed at the top right of each page.
Configuring the dashboard
Click Configure your dashboard (figure 3) to add further widgets, such as ones that show a DataExchange Log, Outgoing email campaigns, Monthly trends for the last 30 days, Global metrics for deliveries and similar.
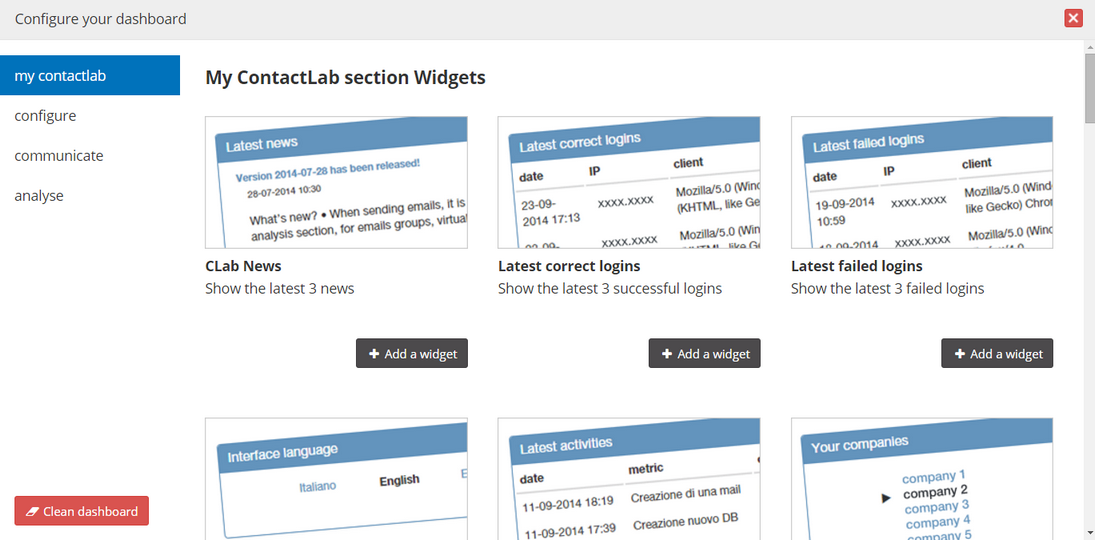
Figure 3
Other widgets enable you to, for example:
- Display the Campaigns Calendar, including the next scheduled/recurring deliveries (figure 4).
- Display the last five XML Delivery process log messages.
- Display the last five pending requests.
- Display the last five additions to the suppression list (blacklist).
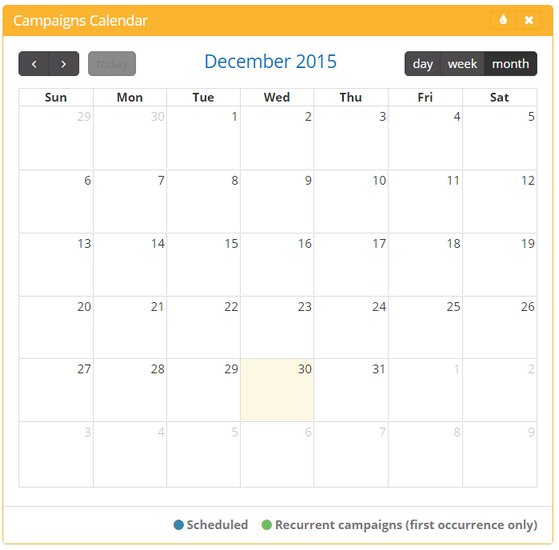
Figure 4
Note:
You can display a maximum of 10 widgets.
Changing the color of a widget
To change the color of a widget:
- Select the appropriate widget.
- Click the raindrop-shaped icon, positioned to the right of the widget panel.
- Choose the required color (figure 5) .
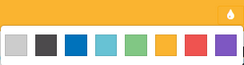
Figure 5
Homepage alternatives
As an alternative to the dashboard, you can set the static Welcome page as the default, which includes the main subdivisions of Contactsend (figure 6).
For more about changing to the Welcome page, see the My Contactlab > Profile & Team > Preferences section of this guide.
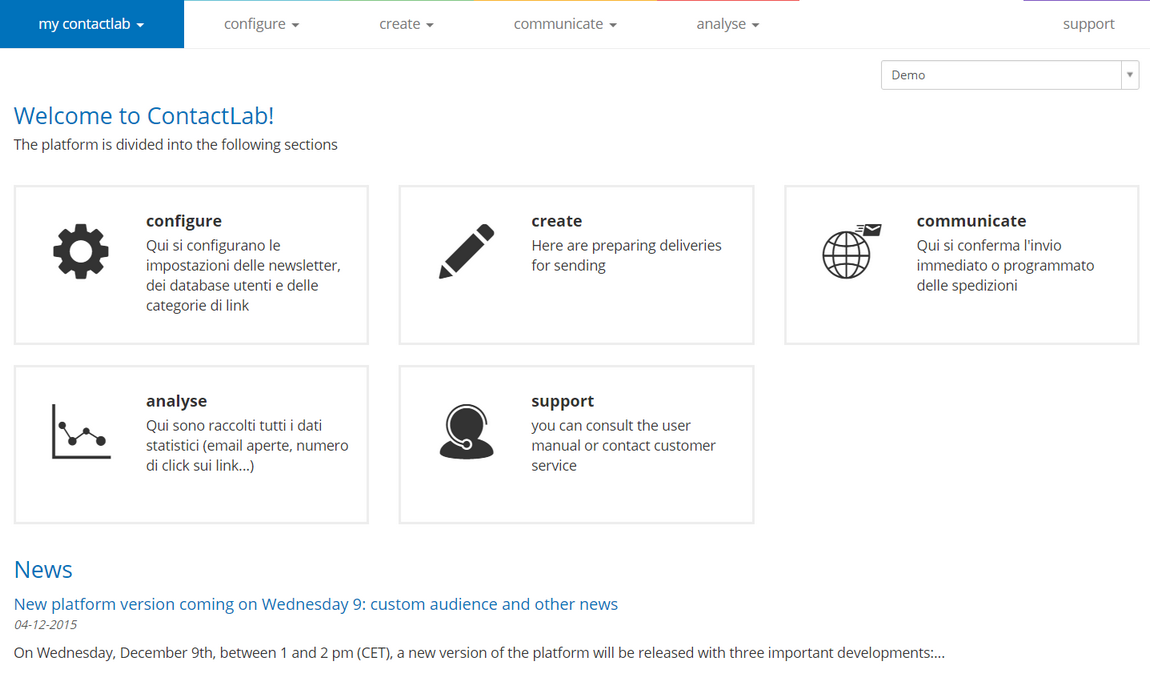
Figure 6
In a similar way to the My Contactlab quick access menu in the dashboard, the Welcome page includes:
- Panels for the four main sections of Contactsend:
- Configure
- Create
- Communicate
- Analyse
- The Support panel
Provides access to the online documentation and the support website.
The News section includes information about both Contactsend, such as new functionality, alerts, suggestions and similar, and digital messaging, for example, articles, legislation and so on.
We recommend that you always check to see if there is any recent news, to keep up-to-date with developments.