
To access the Classifications section, click configure in the main menu and then click the classifications panel. The Classifications page displays (figure 1).
Click the appropriate link below to scroll to the information you require:
Overview
The Classifications section (figure 1) enables you to create and manage link categories and delivery labels.
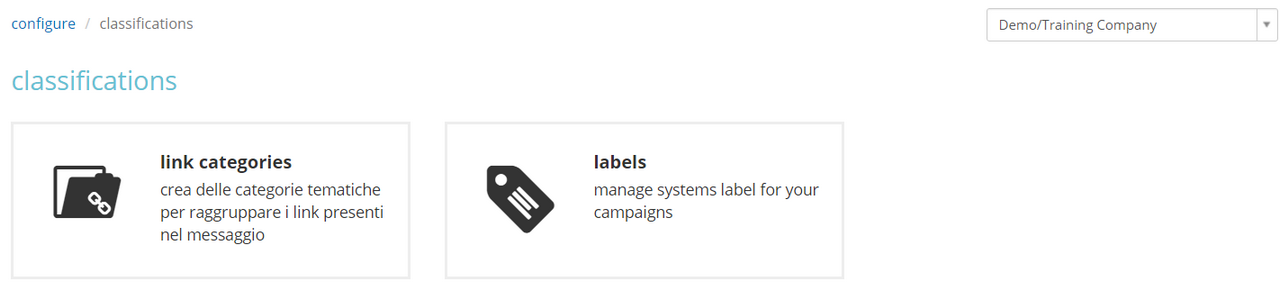
Figure 1: The Classifications page
The page is subdivided into two panels, which you can click to access the relevant section.
Managing Link categories
With Contactsend, you can group the links in a delivery into theme-based categories. Take, for example, a regular newsletter that includes links to different topics such as local, national and foreign news, the economy, sport and so on. These links can be combined into categories to generate statistics for the number of clicks for each topic or theme.
Creating a new Link category
To create a new link category, do the following:
- Click the link categories panel on the Classifications page.
The New link category page displays (figure 2).
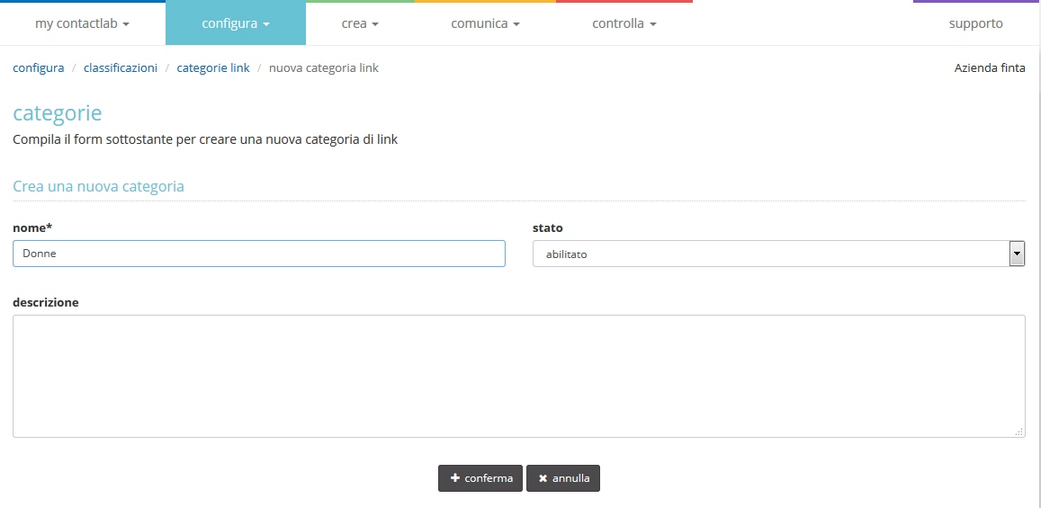
Figure 2: The New link category page
- Under name, enter a recognizable name for the category.
- Under description, add a short description, if required.
- When you are finished, click + confirm.
The link category is created.
Using Link categories
To use a category, the relevant link/s must be associated with it. You can do this:
- When creating the delivery.
or: - In the Analyse section, after sending the delivery.
Associating links when creating a delivery
To associate a link with a category when creating the delivery, do the following:
- Click create > email campaign in the main menu, and follow the steps described in this guide, under Email deliveries, until you reach the Link tracking page of the relevant wizard (figure 3).

Figure 3: The Link tracking page of the Email campaign creation wizard
- Under track, select the appropriate link/s.
- Do the following, as required:
- Under Categorize all links, select the default category.
If you do not associate a link with a specific category as described below, the relevant selected link/s will use the default. - Under Category, click the drop-down box next to each link, and select the appropriate category.
- Under Categorize all links, select the default category.
- Continue with the Email campaign wizard.
Associating links after delivery
To associate a link with a category after a delivery, do the following:
- Click analyse > campaign archive in the main menu.
- Locate and click the appropriate delivery.
The delivery summary page displays. - Click click, followed by Link table.
The Link table page displays. - Locate the appropriate links and under category, click the drop-down box next to each link, and select the appropriate category.
See Analyse > Campaign archive for more about links.
Managing Labels
Using Contactsend, you can create labels that can be associated with deliveries, for example, to group them together. This functionality is available on request.
To create a new label, do the following:
- Click the labels panel on the Classifications page.
The Labels page displays (figure 4).
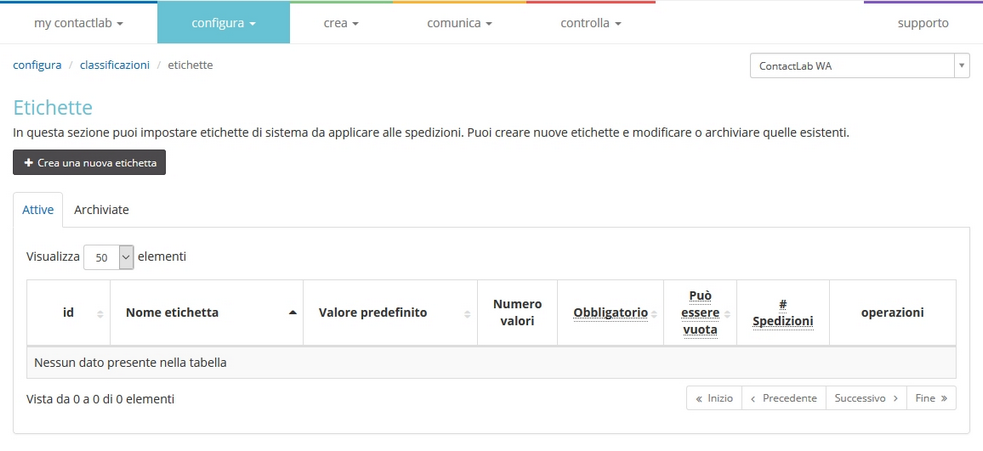
Figure 4: The Labels page
- Click + Create new label.
The New label page displays (figure 5).
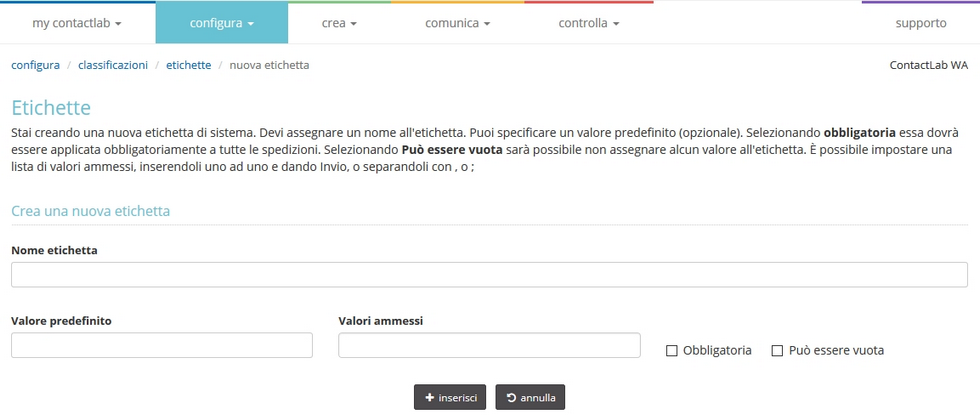
Figure 5: the New label page
- Under Label name, enter a recognizable name.
- Enter a Default value and/or Permitted values, if required.
- Click the appropriate checkbox/es to the right of the value fields, as required.
Labels can be:- Mandatory.
Click the Mandatory checkbox.
The label will be applied to all deliveries. - Non-mandatory.
Ensure that the Mandatory checkbox is not selected.
The label permitted value/s will be available in a selectable drop-down menu when a delivery is created. - Empty.
Click the Can be empty checkbox.
The label can be empty.
- Mandatory.
Note:
If a label is defined as Mandatory and not Empty, delivery creation cannot be completed without selecting a value.
- When you are finished, click Insert.
The label is added to the Labels page.
Labels can be edited, archived or deleted, using the relevant controls in the Operations column of the Labels page (figure 6).
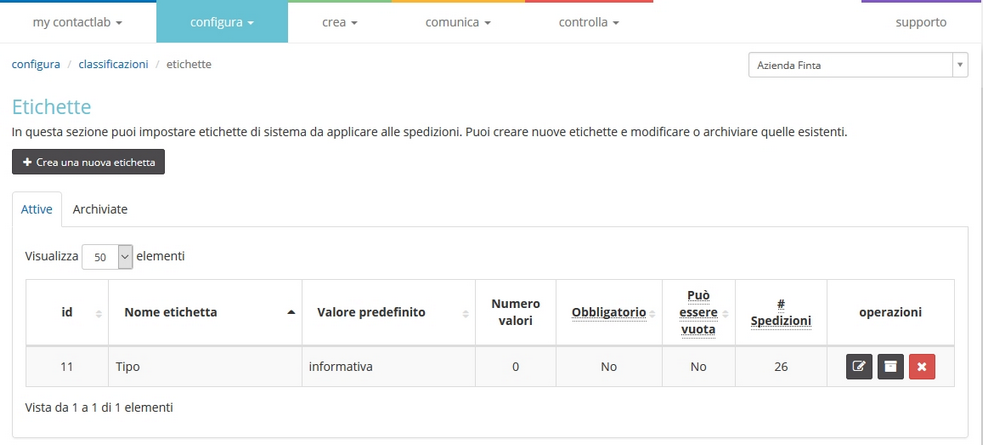
Figure 6: Example of the Labels page with the edit, archive and delete controls