Note:
You can concurrently add multiple extended properties for both events and products.
The following example is based upon adding extended properties to an event, although the procedure for adding them to products is very similar.
To add an extended property, do the following:
- Ensure that the Events tab of the Settings page is selected.
- Click Add extended properties, positioned towards the bottom of the page.
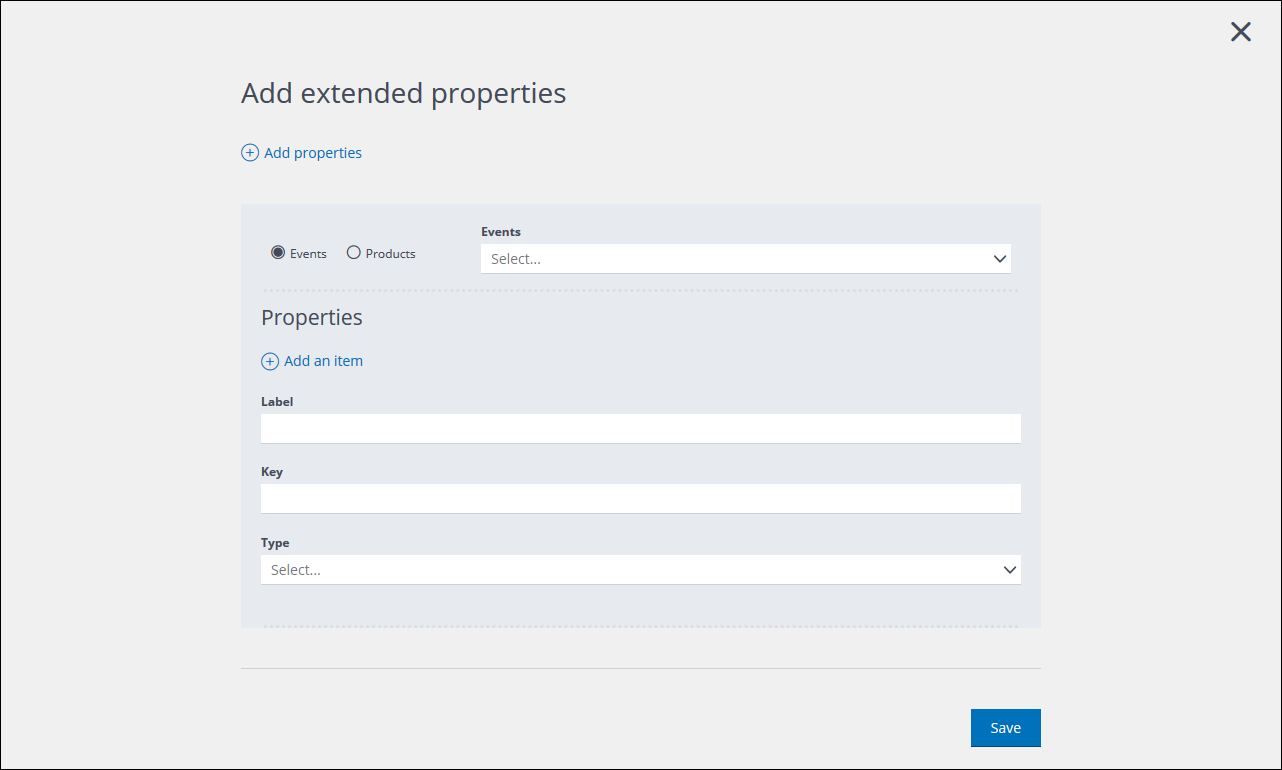
The Add extended properties page displays.

The Add extended properties page
- Select Events, then select the appropriate event type from the drop-down list.
For example, Abandoned Cart. - Under Properties, do the following:
- Under Label, enter a name for the extended property.
This is the name that is visible in the appropriate event structure page. - Under Key, enter the the key that is used to identify the property in the database.
A key cannot include spaces or special characters. - Under Type, select the appropriate data type.
Note:
The Object type is not available.
See Understanding properties for more about data types.
- Under Label, enter a name for the extended property.
- To add further extended properties to the same event type, click Add an item, positioned under the Properties heading, then repeat Step 2.
- To add extended properties to a different event type, click Add properties, positioned under the page heading, then repeat Steps 1 – 3, as required.
- When you are finished, click Save.
You are returned to the Events tab of the Settings page and the extended properties are added to the relevant event type.
Previous page: Viewing, enabling and disabling events | Next page: Understanding nodes and trees
