
Once you have configured a Check step, you need to define the following types of path that a contact might join, according to whether they carry out the chosen trigger event or not, or what their customer profile properties include, at the time the check is performed:
- A default path.
The path that a contact automatically follows, if they do not carry out the defined check event within the chosen time frame, or their customer profile properties do not match any of the rules selected for the positive path/s. The first path that you create is always the default path. - At least one positive path.
One or more paths that a contact may follow, if they carry out the defined check event within the chosen time frame, or their customer profile properties match the appropriate rule/s. The actual path the contact takes is determined by the event and/or demographic rules that are applied to the path.
Note:
If the first step in a path is a Check step, then the path subdivides once more into default and positive paths, which need configuring separately, as described below.
Configuring paths
Do the following:
- Configure the appropriate Check step, ensuring that you choose either an Event or to filter by Customer profile properties, then click the Path button beneath the step

Note:
If you do not select a check step Event or the Customer filter type, you will not be able to configure the rule conditions for any positive paths.
The Steps selection panel displays. - Select the appropriate step type for the first step in the default path.
Note:
You can only add one default path. If you later delete the first step in the default path, the next one takes its place. If you delete all steps in the default path, the next path you create automatically becomes the default one.
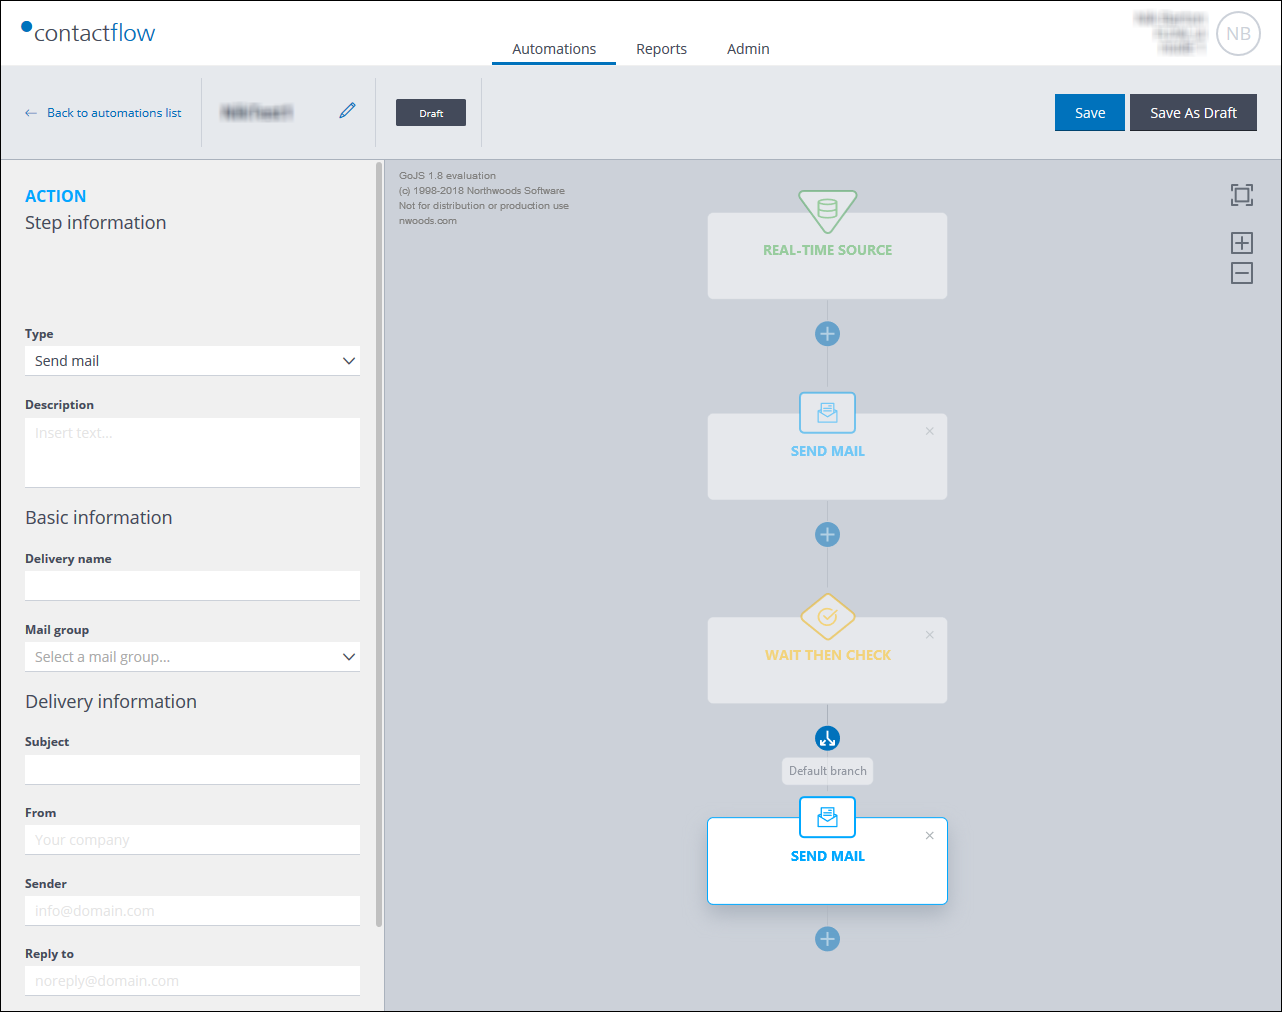
The default path with an initial Send Mail action step
- Configure the chosen step, as described under:
- Click the Path button beneath the Check step, to add the first step of a positive path.
The Steps selection panel displays. - Select and configure the appropriate step type.
See Step 3. above for more configuration details. - Click Edit condition, positioned on the path line.
The Condition parameter options display in the sidebar.
Note:
If you have used a Wait for Trigger check step, or have configured a Wait then Check one as an Event, both Event rules and Demographic rules parameter options display. If, however, you have chosen to filter a Wait then Check step by Customer profile properties, only the Demographic rules parameter option is available.
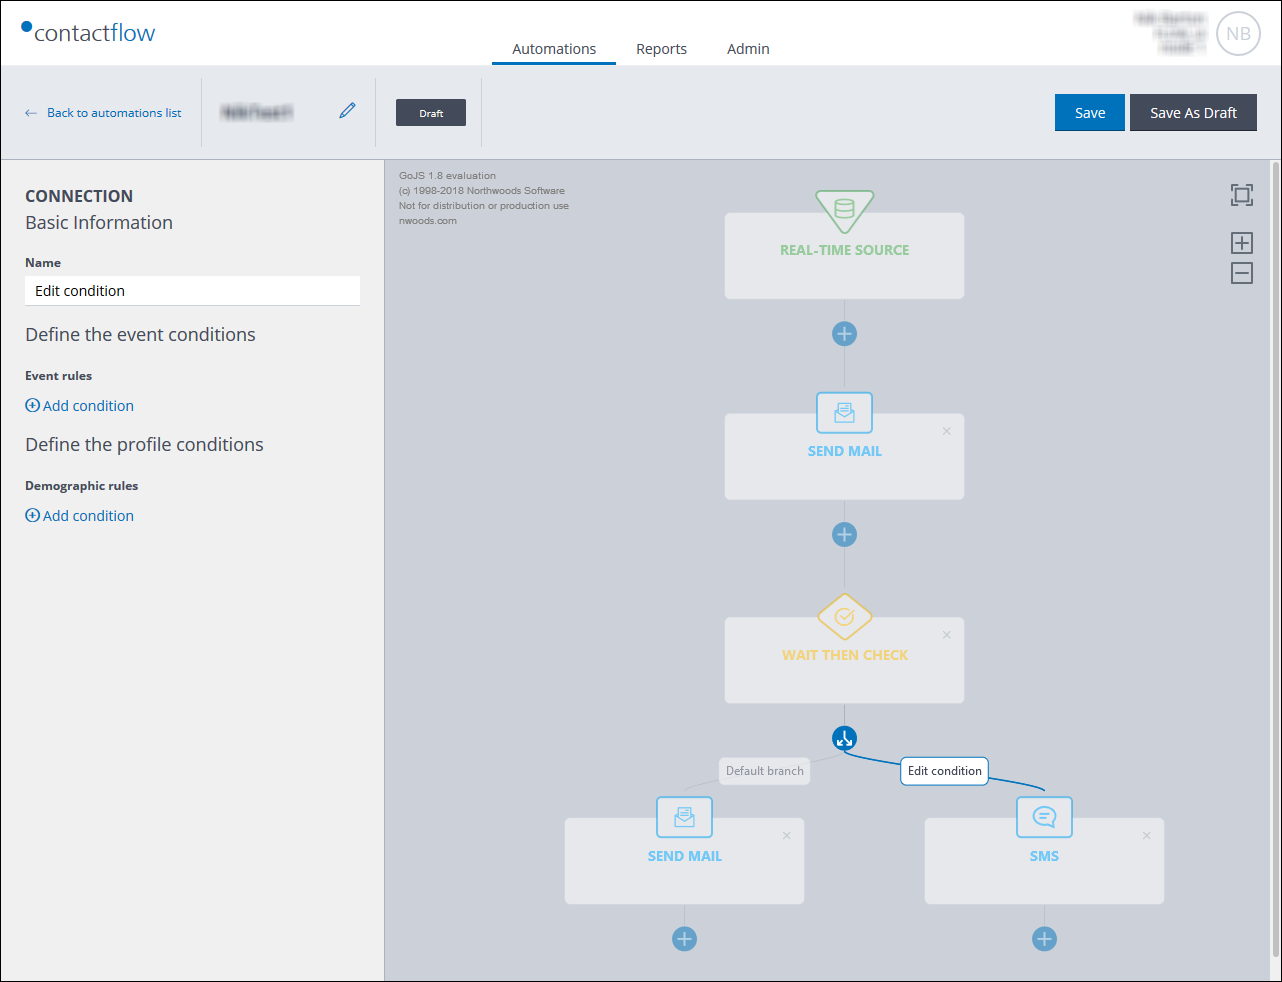
The initial positive path with both Event rules and Demographic rules options displayed
- Under Name, enter a name for the condition.
- Depending upon the type of check step, and whether you have configured it as an Event or to filter for Customer profile properties, define the Event rules and/or Demographic rules parameter options, as follows:
- Under Event rules, if available and required:
- Click Add condition and select one from the drop-down list.
See Creating an automation for more about defining events and rule conditions.
Different conditions display, according to the Event that has been selected for the Check step. - Configure the Operator, for example, Equal to.
- Enter the appropriate Text string, depending upon the selected condition.
- Click Add condition to add further ones, as appropriate.
- Ensure that you select the correct interaction, to determine how the conditions work together. For example:
- And
The event must conform with all conditions. - Or
The event must only conform with one of the conditions.
- And
- Click Add condition and select one from the drop-down list.
- Under Demographic rules, if required:
- Carry out the same steps as those given in Step 9 above for Event rules.
Note:
The available conditions vary, according to the base and extended properties that are configured in Hub. See the Contacthub Guide for more about properties.
- Carry out the same steps as those given in Step 9 above for Event rules.
- Add further positive paths as required, by repeating Steps 4 to 10 above.
- When you have finished defining the initial step in each path, add further actions and steps, as required:
If you have finished defining the automation, follow the steps given under Completing the automation.
Also see:
Previous page: Adding a Check step | Next page: Adding a Delay step