You can add contacts to an automation by creating an appropriate plan using Contactplan. The following provides a summary of the overall procedure and describes the important steps related to Contactflow in detail. For a full description of creating a plan, see the Contactplan User Guide.
Do the following:
- Sign in to Contactplan and click the Plans tab, if it is not already selected.
The My Plans page displays. - Click Create new plan.
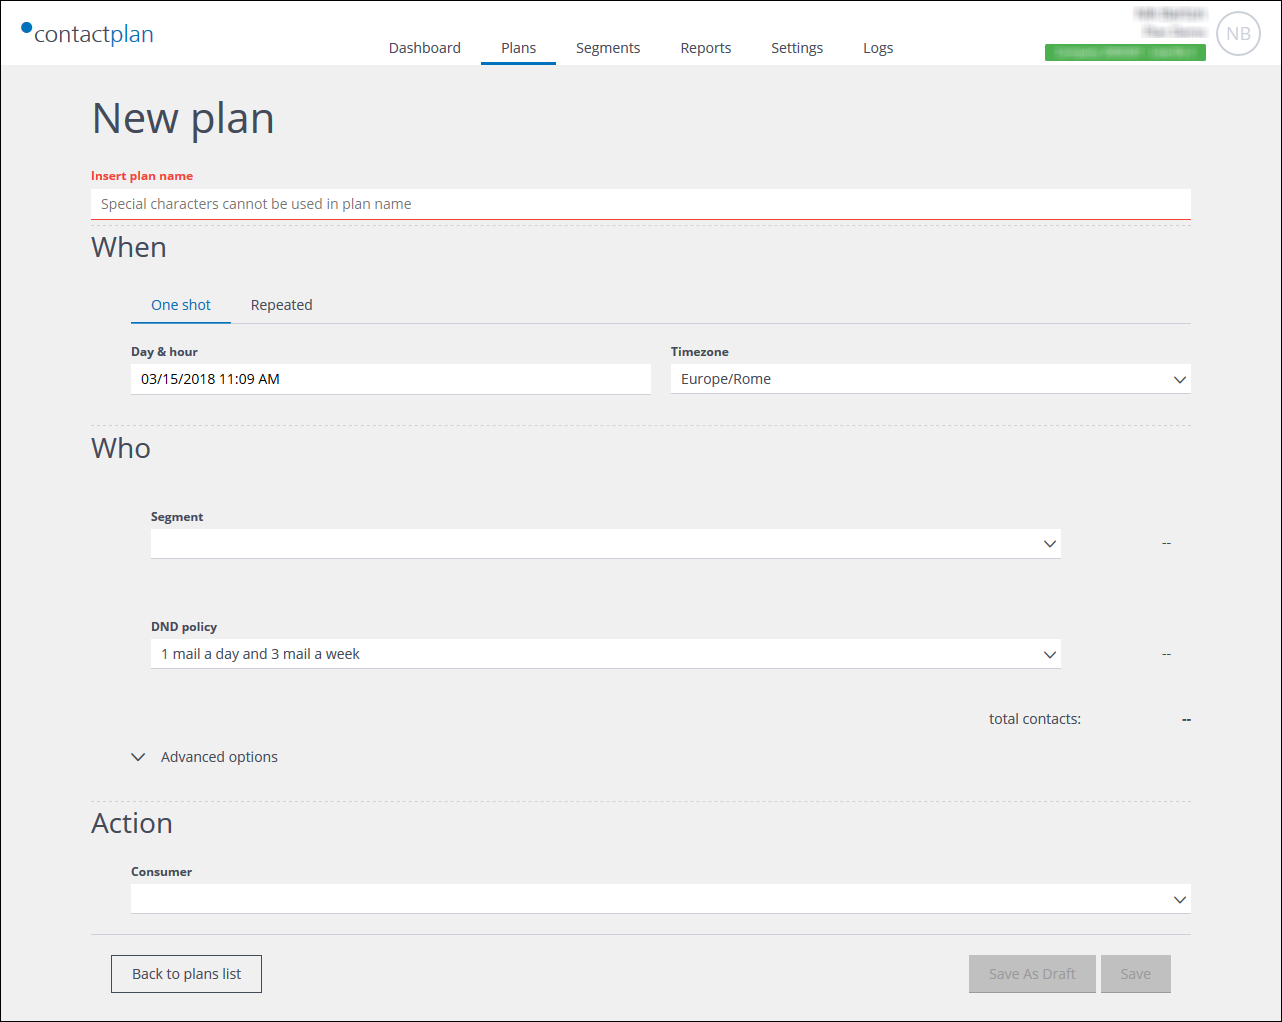
The New plan page displays.

Example of the Contactplan New plan page
- Enter a name for the plan, in the Insert plan name field.
- Under When, click:
- The One shot tab and complete the required details, to generate the list once.
For example, the current date and time will result in the plan being run immediately after it has been saved.
or: - The Repeated tab and complete the required details, if you want the list to be generated more than once, at defined intervals.
This is useful, for example, if you want an up-to-date list to be available each time an automation sends a new email.
- The One shot tab and complete the required details, to generate the list once.
- Under Who, select the appropriate Segment and DND policy, if required.
- Click Advanced options, if required, to refine the list parameters.
Here you can:- Further define when the list is generated, in relation to when the plan is run.
- Define the number of contacts that are to be used for the plan.
- Under Action, do the following:
- In the Consumer field, click the downwards pointing arrow to the right of the field, and select Send Contacts to an Automation.
- Click Create/Edit.
The Automation list window displays. - Choose the appropriate Automations list and click Select.
The Automation list window closes and the Custom fields options display on the main page.
Only automations that will be active on the plan’s target run date are displayed. The system prevents you from sending contacts to automations that will be not active on that date. - Under Custom fields, define the Attribute Key and Attribute Value for each of the dynamic fields in the email HTML, as required.
Note:
The Attribute Key must be exactly the same as the one used in the message HTML, for example, FIRSTNAME, LASTNAME, PRODUCTNAME, or similar.
The Attribute Value must be one that is available for the attribute in the relevant database. For example, Hilary, Jones, Green Shoes, or similar.
- When you are finished, click Save.
You are returned to the My plans page and the plan is added to the Ready tab, to be run as and when you have defined.
You can also save the plan as a draft, if required.
Also see:
Previous page: Deleting an automation | Next page: Generating and viewing reports
