IMPORTANT:
An Admin user can only edit the details and reset the PIN or password for a user who has been created within the company for which they have admin. permissions. For example, the Users page may include ‘associate users’ from the parent company ‘A’, and users from the brand company ‘B’. If an Admin user only has permissions for company ‘B’, they can only edit the settings for users created within that company.
In a similar way, only an Admin user from company ‘A’ can edit the details of users created within that company. However, if a company ‘A’ Admin user also has admin. permissions for company ‘B’, then they can edit users from both companies, without needing to change the company that they are logged into.
An Admin user can always view the details of any associate or normal user in the list.
The details of Contactlab customer care team members who appear as associate users in a company team’s list, can only be edited by Contactlab.
Editing user details
To edit a user’s details, do the following:
- Ensure that the Team tab is selected in the Control bar and the Users page is displayed.
- Locate the appropriate user and click the Pencil icon, positioned to the right of relevant row.
If an information icon is displayed, you cannot edit the user’s details. See the Users page for more about the icons that appear in the last column of the table.
The User details page displays, with six tabs:- Personal info
Similar to the Account > Personal info page, but with an additional Permissions section. - Options
Similar to the Account > Options page. - Permissions
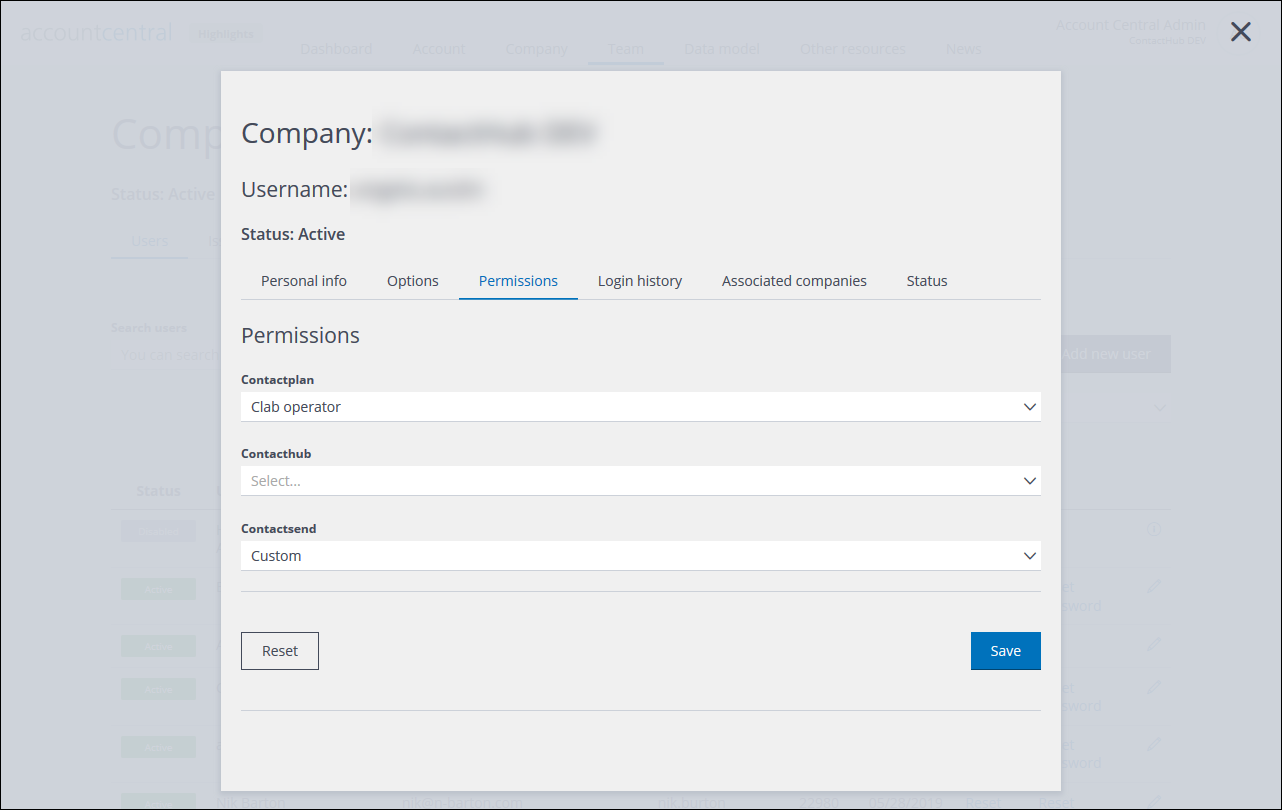
Enables you to select the permission levels that the user should have for Contactplan, Contacthub and Contactsend. - Log in history
Similar to the Account > Log in history page. Read-only. - Associated companies
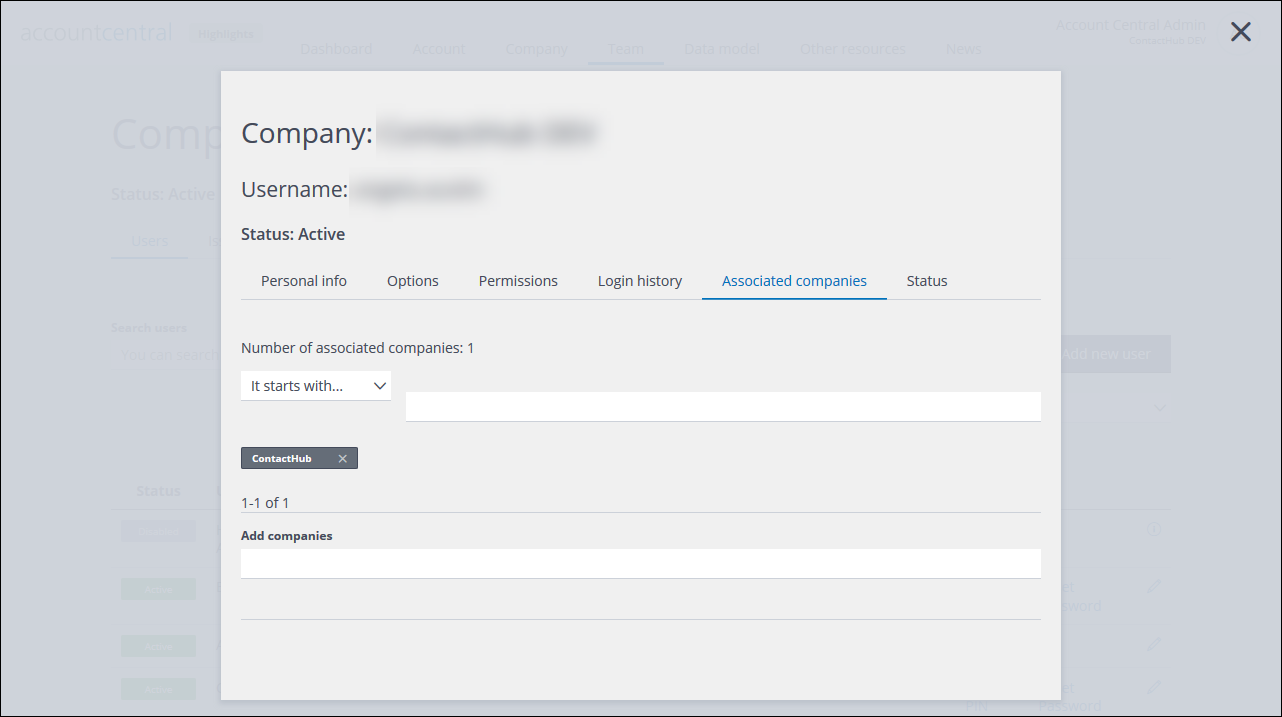
Enables you to view the companies that are associated with the user, and add new ones to the list as required.
Note:
You can only add a user to companies that already exist in the Marketing Cloud platform. - Status
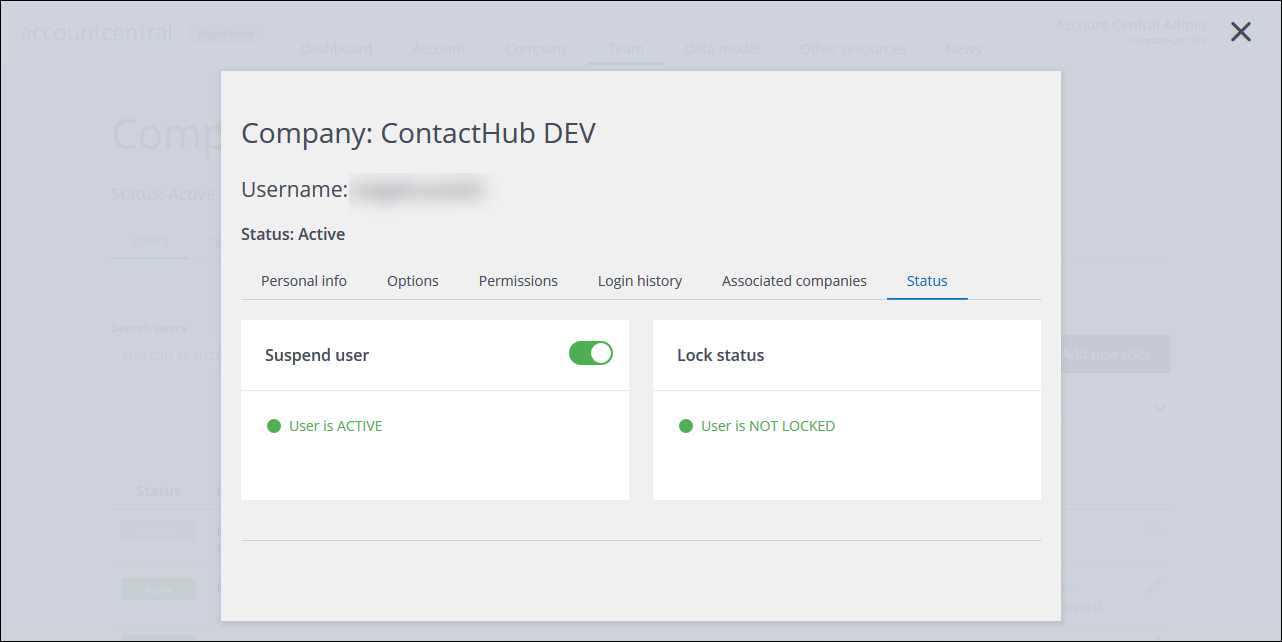
Displays the user’s current status, for example, Active, Suspended, Disabled or Blocked. The tab also enables you to suspend the user, as well as see whether the account has been locked.
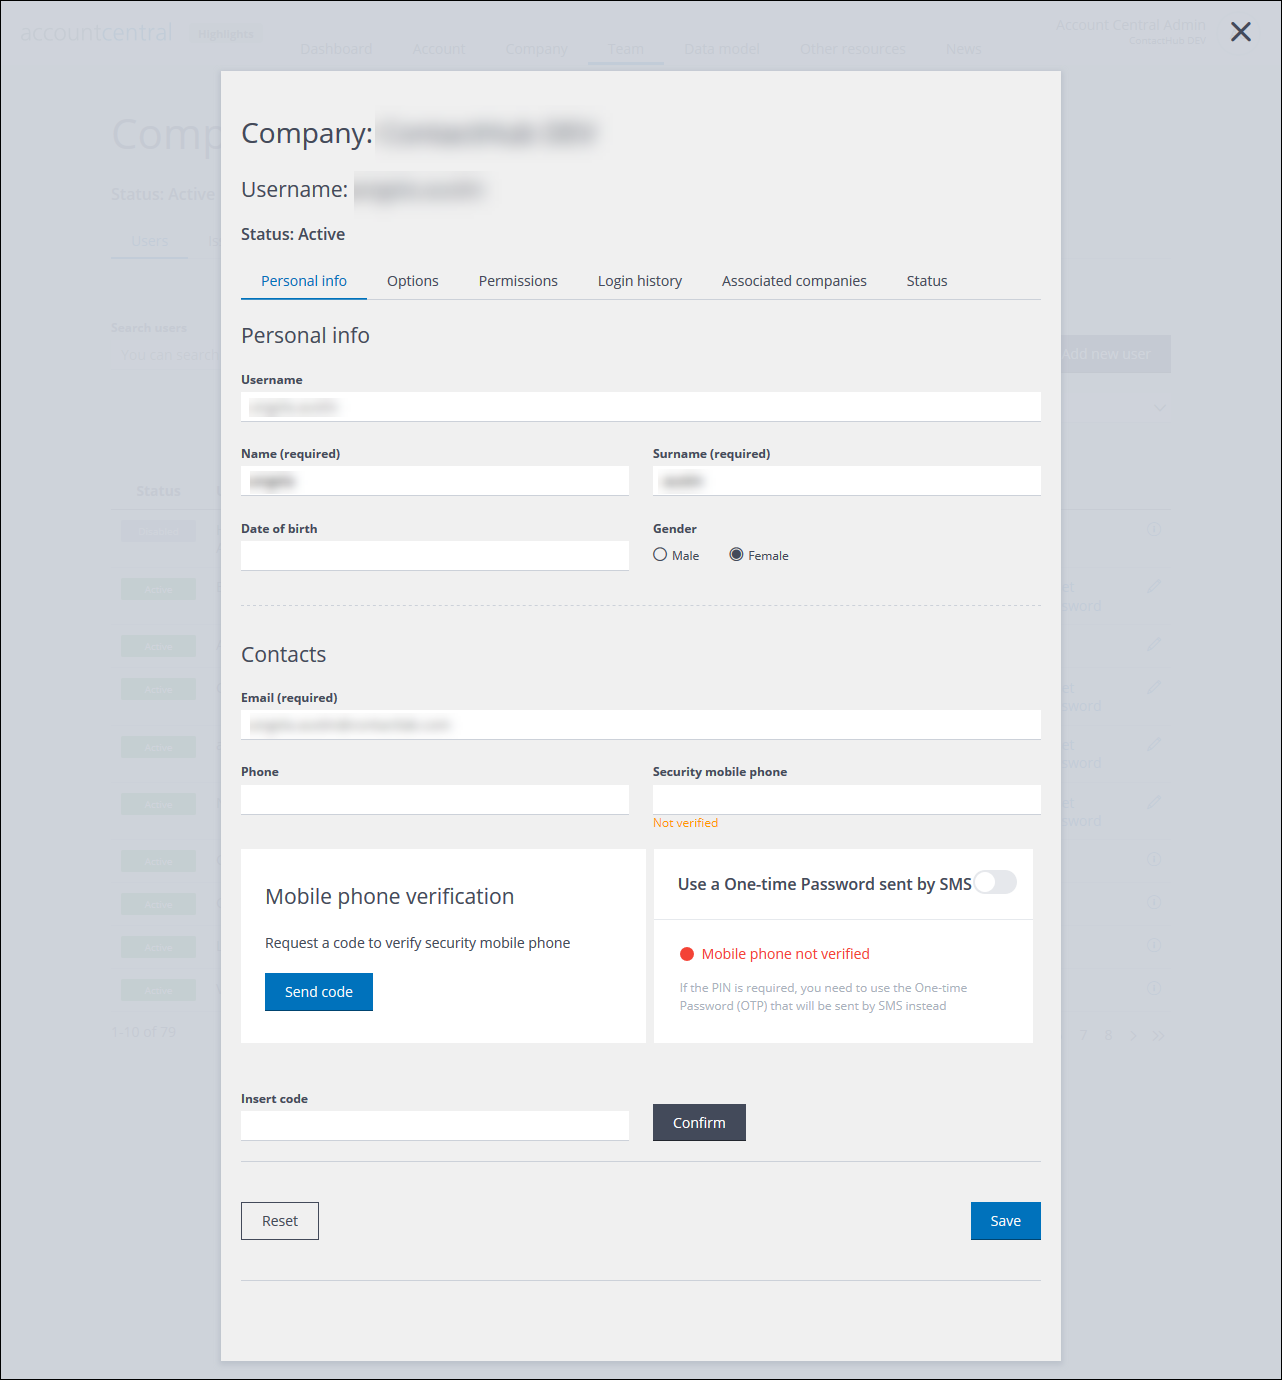
- Personal info

Example of the User details page, with the Personal info tab selected
- Click the Personal info tab if it is not already displayed, and edit the fields as required.
Note:
You cannot change the Username. - Under Contacts, click Send code to verify the number entered under Security mobile phone, if required.
An SMS with a verification code is sent to the number. - Enter the code in the Insert code field, and click Confirm.
The phone number is verified.
See Personal info for more details about the Security mobile phone number. - If the Security mobile phone has been verified, toggle the switch in the Use a One-time Password sent by SMS panel to enable or disable the One-time Password (OTP) by SMS option, as required.
The switch is green when the option is enabled. - Click the Options tab and edit the fields as required.
See Options for more details. - Click the Permissions tab.
The User application permissions page displays.

Example of the User application permissions page
- Select the permission levels that the user should have for Contactplan, Contacthub and Contactsend, as required.
- Click the Log in history tab to view a complete list of log ins for the user.
See the Log in history page for more details. - Click the Associated companies tab.
The User associated companies page displays, with each company name shown individually, on a dark gray panel.

Example of the User associated companies page
- If you want to remove the user from a company, click the ‘X’ icon, positioned to the right of the company name.
The removal is confirmed. - If you want to add the user to a company, under Add companies, start to enter the company name.
A selectable list of company names displays. - Click the appropriate name.
The company is added to the user’s list and highlighted in green. - Click the Status tab.
The User status page displays.

Example of the User status page
- Toggle the switch to suspend or reactivate the user, as required.
The user is active if the switch is green. - When you are finished, return to the Personal info tab and click Save.
Note:
If you do not click Save, any edits will be lost.
Previous page: Adding a new user | Next page: The Issues page
