
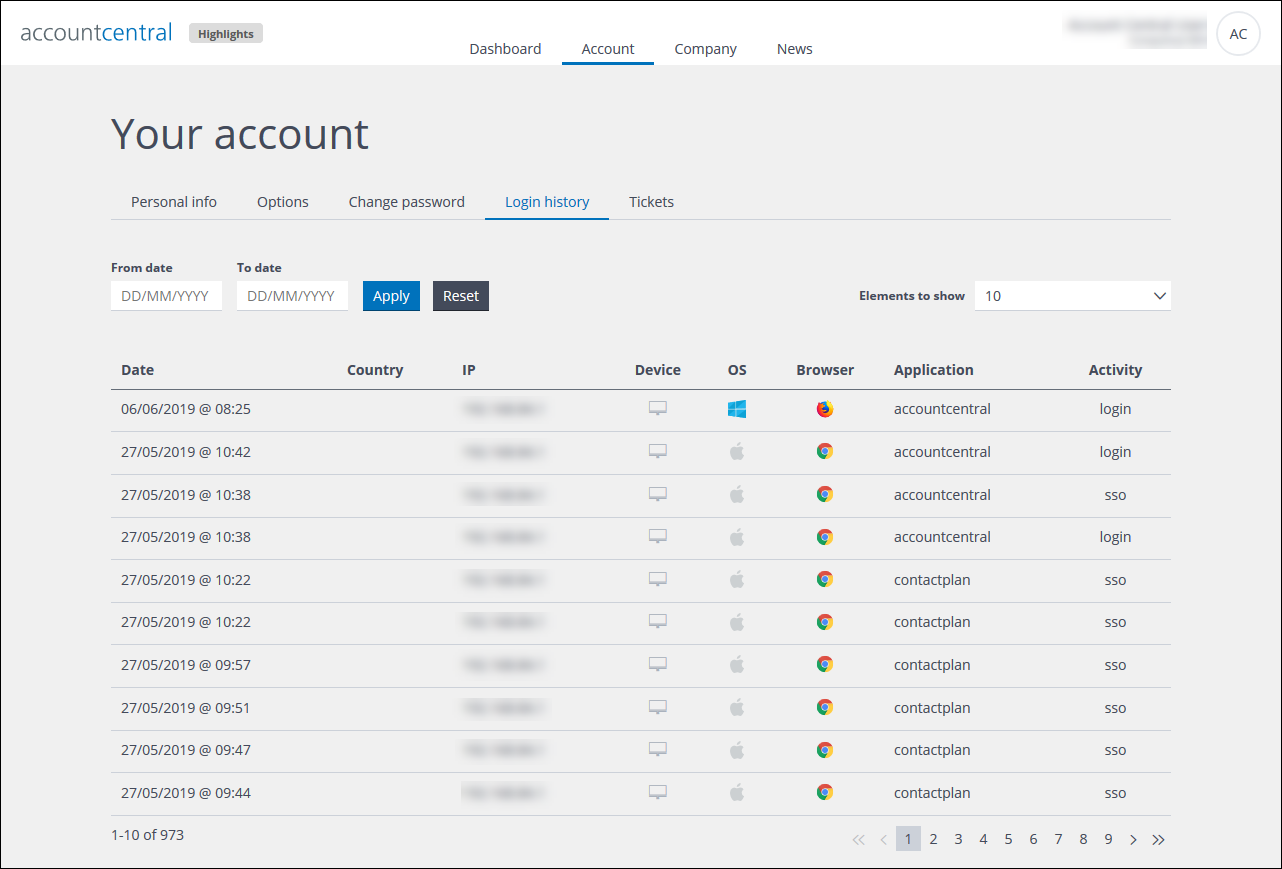
Example of the Log in history page
The Log in history page is read-only and displays the details of every sign in attempt you have made, together with information about other account-related activities.
The Activity column shows what took place. For example, you signed in, you used your email PIN or a One-time Password by SMS when you signed in, or you changed your password and similar. The following lists the possible entries and their meanings:
- login
The sign in attempt was successful. - login failed
The sign in attempt failed. - login attempt with blocked account
The account that was used for the sign in attempt has been blocked.
- login attempt with disabled account
The account that was used for the sign in attempt has been disabled.
- login attempt with blocked password
The password that was used for the sign in attempt has been blocked.
- pin requested
Numbers from your PIN were requested during sign in. - login with pin
The sign in attempt with numbers from your PIN was successful.
- login with pin failed
The sign in attempt with numbers from your PIN failed.
- otp requested
An OTP was requested during sign in. - login with otp
The sign in attempt with an OTP was successful.
- login with otp failed
The sign in attempt with an OTP failed.
- account blocked
The account has been blocked. - sso
The Single Sign On (SSO) feature was used when signing in.
SSO enables you to sign in once to access multiple Engagement Marketing platform applications, according to your account permissions. - pin reset
The PIN has been reset by an administrator. - pin activated
The PIN has been activated. - password changed
The password has been changed. - password recovered
The password was recovered after it was forgotten. - password reset
The password has been reset by an administrator.
If you want to view sign in attempts for a specific time frame:
- Enter the From date and To date in the appropriate fields.
- Click Reset to return the date fields to the default, if required.
- When you are finished, click Apply to filter the list.
Previous page: The Change password page | Next page: The Tickets page