
Creating an entry node
To create a new entry node, do the following:
- Ensure that Entry on the Hierarchy tab of the Settings page is selected.
- Click Add.
The Create Entry node page displays.
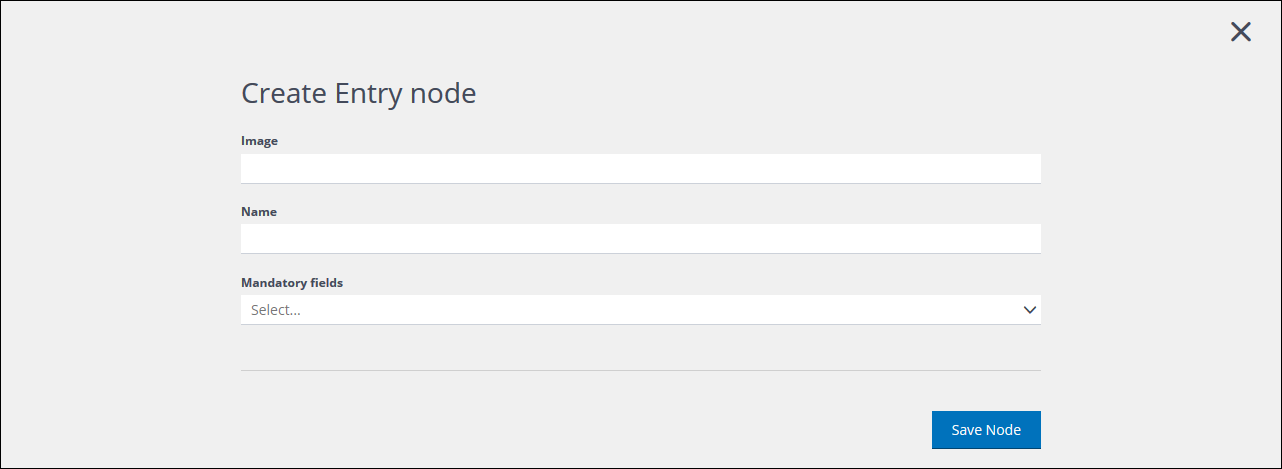
The Create Entry node page
- Under Image, enter the URL of the image that is to represent the node in the UI, if required.
- Under Name, enter a name for the node.
Ensure that the name you choose can be recognized by you and others later. - Under Mandatory fields, select the properties that a customer in the database must have, if required.
Note:
No property is mandatory by default in Contacthub. However, you can select the Base and Extended properties that are required for each individual node. - Click Save node to save the new node, or click the X button in the top right-hand corner of the page to abort the process.
You are returned to the Hierarchy tab and the new node is added to the list. - If you want to add a unique customer policy to the new node, do the following:
- Locate and click the relevant node on the Entry page.
- Follow the instructions given below, under Editing the unique customer policy.
Viewing and editing an entry node
To view and/or edit an entry node, do the following:
- Ensure that Entry on the Hierarchy tab of the Settings page is selected.
- Locate and click the relevant node.
The Edit node page displays, with the name of the node as the heading.
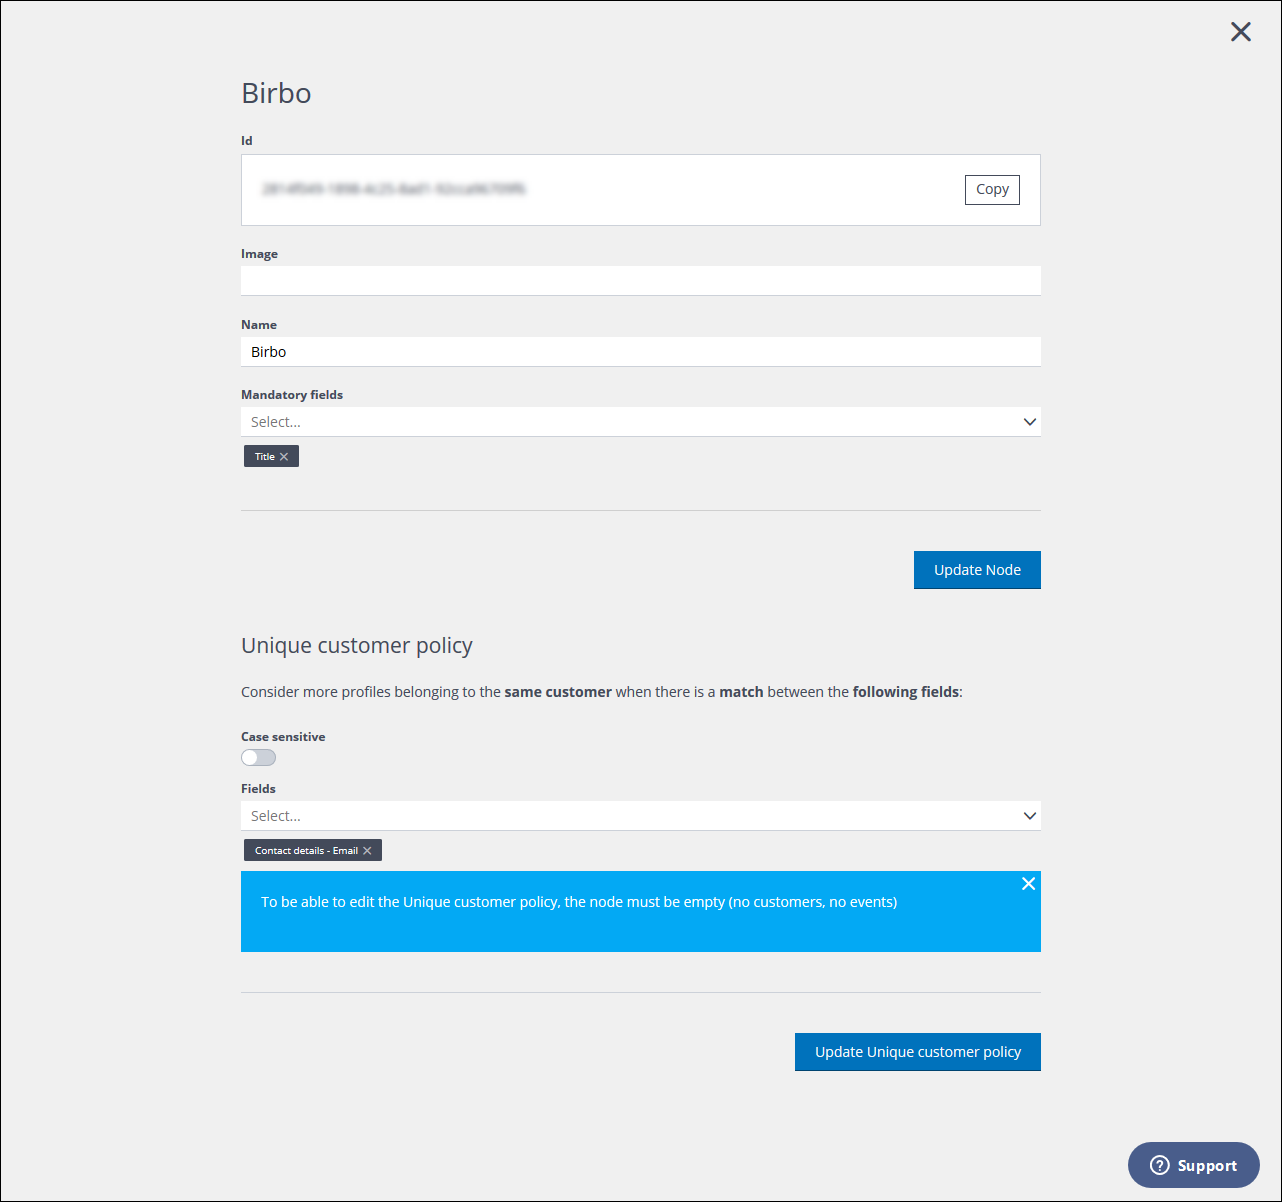
Example of the Edit node page
- Do the following, as required:
Note:
The unique identifier that is assigned to the node displays beneath the heading. It cannot be edited.- Add or change the URL of the image that is to represent the node in the UI.
- Change the Name of the node.
- Change the Mandatory fields or properties that a customer in the database must have.
Note:
No property is mandatory by default in Contacthub. However, you can select the base and extended properties that are required for each individual node.
- Click Update Node to save your changes, or click the X icon in the top right-hand corner of the page to abort the process.
You are returned to the Entry node page on the Hierarchy tab.
Editing the unique customer policy
If the node is empty, with no customers or events, you can edit the Unique customer policy as follows:
- Select Case sensitive, if required.
- Under Fields, select the fields that should be used to determine whether profiles are for the same customer.
Each field that you select is added to the area beneath the drop-down list. - Remove unwanted fields, if required, by clicking the X icon, positioned to the right of its entry beneath the drop-down list.
- When you are finished, click Update unique customer policy to apply your changes.
You are returned to the Entry node page on the Hierarchy tab and the policy is updated.
Previous page: Managing entry nodes | Next page: Managing view nodes