
While aggregate nodes can only be configured or edited by Contactlab staff, the following will help you understand the requirements and the overall process.
Creating an aggregate node
An aggregate node is created as follows:
- Ensure that Aggregates on the Hierarchy tab of the Settings page is selected.
- Click Add.
The Create Aggregate node page displays.
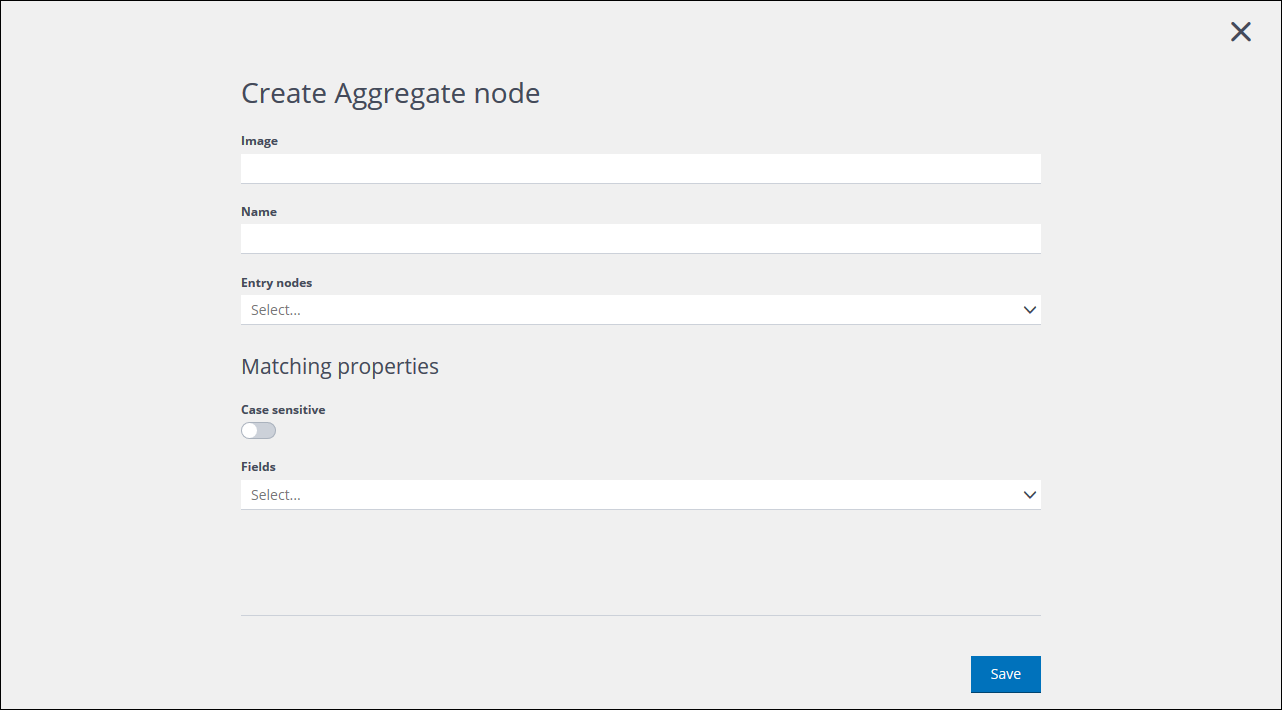
The Create Aggregate node page
- Under Image, enter the URL of the image that is to represent the node in the UI, if required.
- Under Name, enter a name for the node.
Ensure that the name you choose can be recognized by you and others later. - Under Entry nodes, select the nodes that should be used in the aggregation.
Two or more nodes can be selected. However, the amount of data that may need to be processed can have a substantial impact on resources and, as a result, system performance. - Under Matching properties, do the following:
- Click the Case sensitive switch to enable it, if required.
The switch is green when it is enabled. - Under Fields, select the field/s that you want to use to identify matching profiles.
For example, Contact details – Email.
- Click the Case sensitive switch to enable it, if required.
- When you are finished, click Save.
You are returned to the Hierarchy tab and the new node is added to the Aggregates page.
Viewing and editing an aggregate node
An aggregate node is viewed and/or edited as follows:
- Ensure that Aggregates on the Hierarchy tab of the Settings page is selected.
- Locate and click the relevant node.
The Edit node page displays, with the ID of the node as the heading.
The State of the node, for example, To be activated, Active, Processing and similar, is displayed beneath the ID. If the state is Processing or In deletion, it cannot be edited.
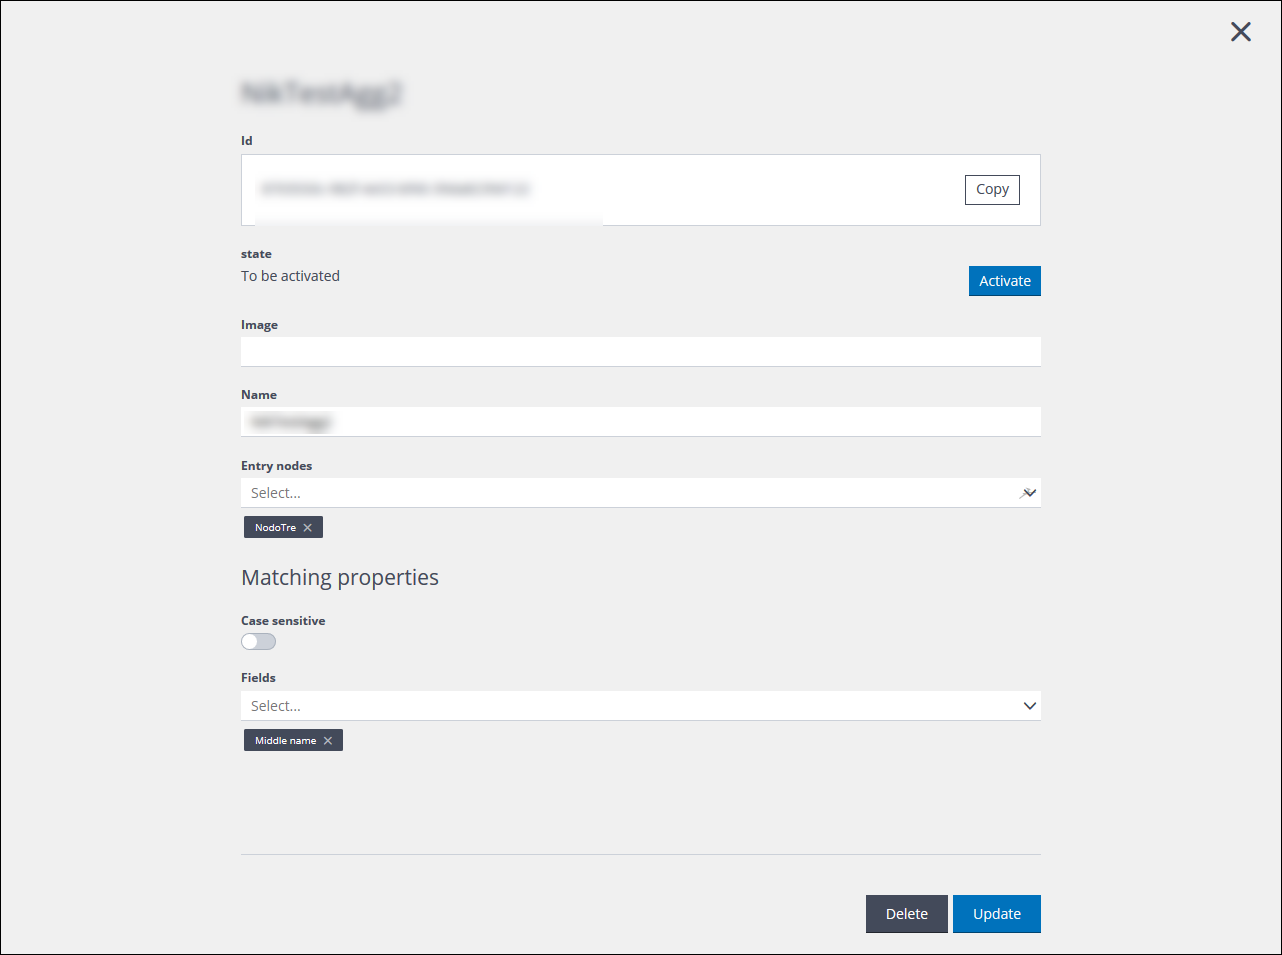
Example of the Edit node page
- To change the state from To be activated to Active, following the creation of an aggregated node, click Activate, positioned to the right of the State.
- Do the following, as required:
Note:
The unique identifier that is assigned to the node displays beneath the heading. It cannot be edited.- Add or change the URL of the Image that is to represent the node in the UI.
- Change the Name of the node.
- Remove or add selected Entry nodes.
Note:
A new entry node can be added, even if it is not empty.
- Under Matching properties, do the following:
- Click the Case sensitive switch to change its setting, if required.
The switch is green when it is enabled. - Under Fields, remove or add field/s that you want to use to identify matching profiles.
- Click the Case sensitive switch to change its setting, if required.
- When you are finished, click Update.
You are returned to the Aggregates page of the Hierarchy tab.
Note:
An aggregate node can be cleared of all aggregated customers and their events to, for example, free up the space used, if required.
Previous page: Managing aggregate nodes | Next page: Configuring trees