
Scope
In this tutorial, you will learn what a plan is, how to create one using the Contactplan UI, and how to set up a new email delivery using the plan.
What is a plan?
A plan defines how and when to carry out a specific activity, using a selected segment. For example, you can create a plan that includes all the information required to send a marketing campaign, which is scheduled to take place on a particular date and at the appropriate time. In this tutorial, you’ll plan a new email campaign in Contactsend.
See this page for more about creating plans, and the ‘How to create a segment’ tutorial for a brief introduction to segments.
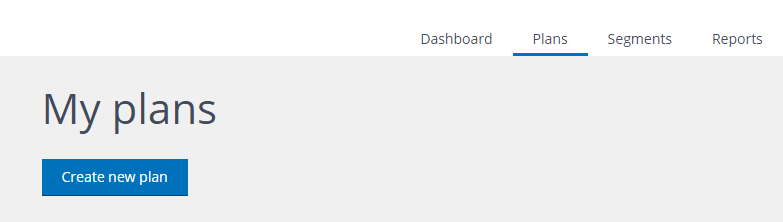
Click the Plans tab in the Contactplan UI to manage existing plans, or create new ones.
How to create a new plan
1) Click the Plans tab if it is not already selected, then click Create new plan.
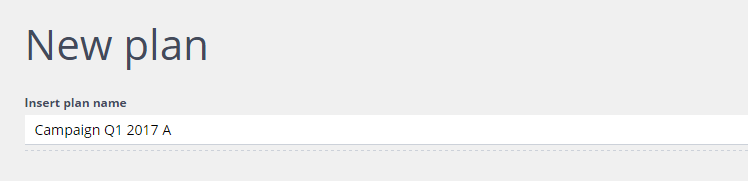
2) On the New plan page, give the plan a recognizable name.
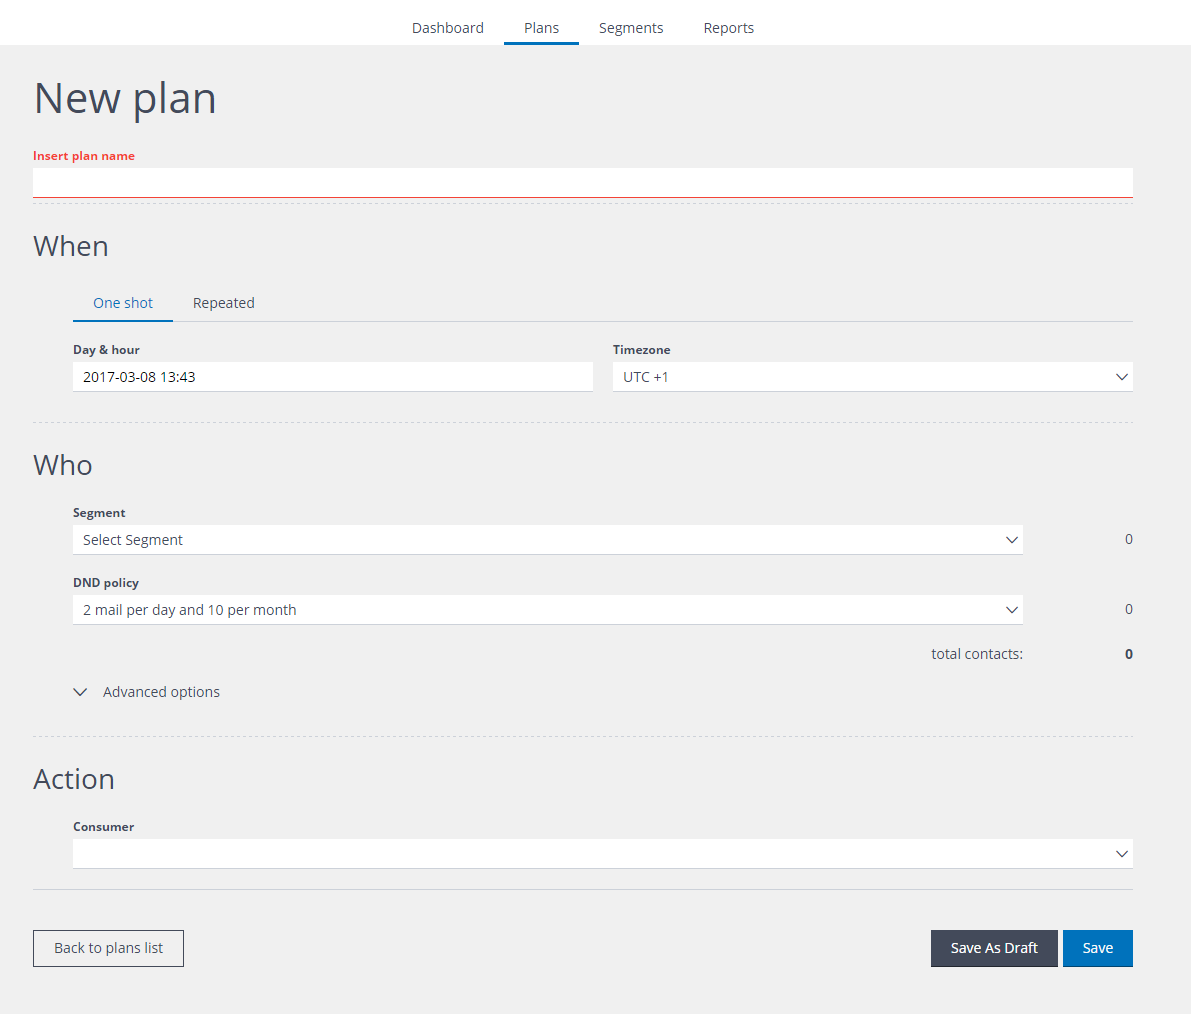
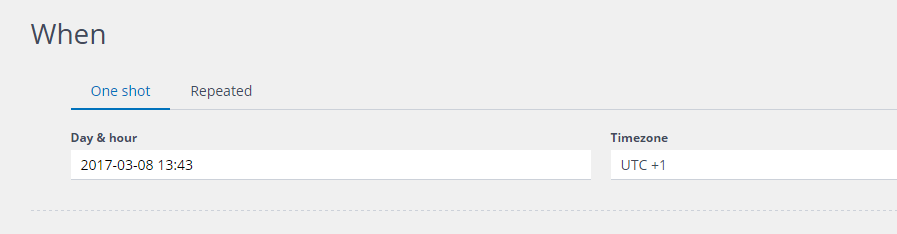
3) Under When, decide whether the plan should be run just once, or if it should be recurring. Click:
- One shot for a plan that takes place once.
- Repeated for a recurring activity.
If you select One shot, define the date and time for the email delivery to take place.
If you select Repeated, define the date and time for the first email delivery to take place, the Repetition frequency (for example, Daily, Weekly or Monthly) and the End date for the plan. You can select:
Never
The plan repeats until it is stopped manually, or it has been running for a maximum of one year.
After
Select how many times the plan should run.
On date
Enter the date when the plan should stop repeating.
Note:
A recurring plan cannot be defined to last longer than one year, or to include more than 365 daily repetitions.
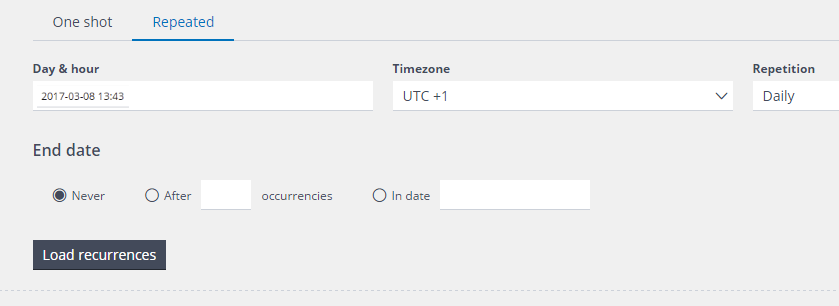
If you click Load recurrences, the dates of the first ten repeats are displayed, together with the total number.
4) Under Who, select the Segment that is to be used to generate the Contactsend filter, from the drop-down list.
Under DND policy, you can also select one of the available Do Not Disturb policies, if required. This enables you to automatically limit the number of communications that a contact can receive, within a defined time period.
See this page for more about DND policies.
In the example below, a DND policy has been selected that allows the relevant contacts to receive a maximum of two emails each day, and up to ten per month.
5) The Advanced options enable you to:
Determine, under List generation, when the contact list that will be used for the activity, is to be generated.
For example, enter: -1 to generate the list as soon as the plan is saved. This ensures that the delivery will be based upon the currently available total contacts. However, the Set contacts number advanced option determines how many contacts from the list are actually used.
0 to generate the list on the day that the plan is run. The contacts that are identified by the segment on that day, will be used as the basis for the delivery.
A positive integer to generate the list that number of days before the plan is run. For example, if you type “2”, the list is generated two days before the action planned takes place.
Note:
A segment is dynamic and is only current at the point in time that its segmentation rules are applied to the database. This means that the contacts included in a segment may change each time it is generated. See for more about segments.
Choose, under Set contacts number, how many of the contacts in the list are to be used for the activity. The options are:
All
The full contact list is used, subject to any DND policy that is applied.
Exact
Enables you to define an exact number of contacts and what Contactplan should do, if that number is not available when the list is generated, or after the DND policy is applied.
Range
Enables you to define a range for the number of contacts, for example, 20,000 – 50,000, and what Contactplan should do, if that number is not available when the list is generated, or after the DND policy is applied.
If Exact or Range is selected, Contactplan randomly selects the appropriate number of contacts from the list.
6) Under Action, select Clab Campaign Creator from the Consumer drop-down list.
This enables you to create an email campaign for the plan, which will then be run using Contactsend.

Depending upon your system settings, the other options may include:
- Clab Filter Creator
Used to create filters in Contactsend. - Consumer SFTP plugin
Defines the storage location to which the contact list associated with the plan is exported.
7) Click Create, positioned to the right of the Delivery box, to start defining your campaign content.
8) Under Basic information, give the delivery a recognizable name.
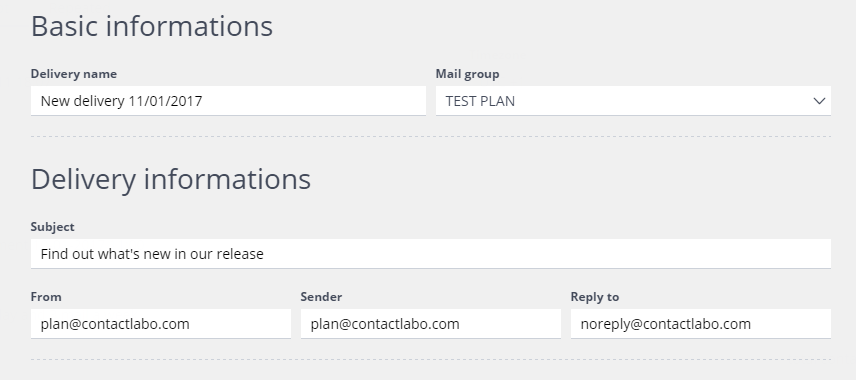
9) Select the appropriate Contactsend Email group from the drop-down list.
10) Click Next to display Delivery information.
11) Enter the Subject for the email, the From and Sender details, and the Reply to address.
12) Click Next to display Message body.
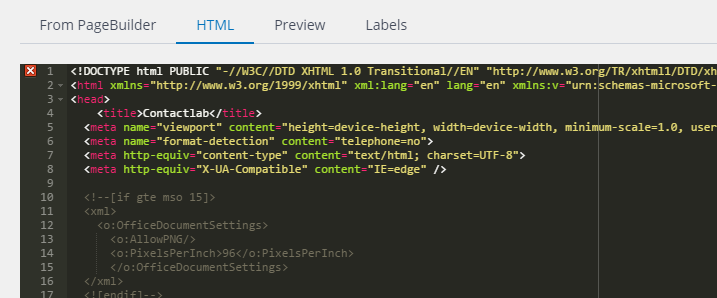
13) Choose whether you want to: Import a template From PageBuilder, which your company has previously configured. See https://explore.contactlab.com/contactsend/?lang=enmain_guide/3_10_crt_Pagebuilder/ for more about PageBuilder.
Paste the relevant HTML into the box on the tab provided.
Note: The box that is available by clicking the HTML tab is only a receptacle for your HTML. It is not an editor. You should use an HTML editor of your choice to create your message body, if you choose this option.
A PageBuilder template is used as an example, in this tutorial.

14) Click From PageBuilder, and select the appropriate PageBuilder folder.
15) Locate and click the required HTML message template.
16) Once you have selected a PageBuilder template, you can:
View its code on the HTML tab.
Note: Links within the HTML will automatically be tracked.
Preview how the email will appear to the recipient.

Add Labels to the campaign, if required.
17) Click Next to display Test list.
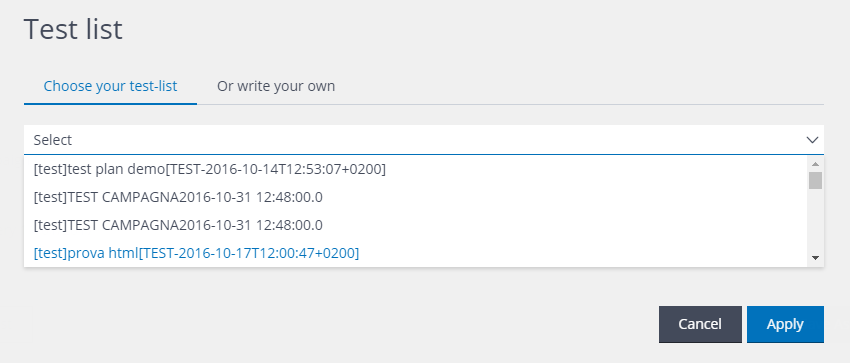
18) If you wish to send out a test delivery, you can Choose your test list from those available, Or write your own, by entering a comma-separated list of email addresses.
Note: If you type your own list, the email addresses that you use must already be present in your database.
19) When you are finished, or if you do not want to send a test delivery, click Apply to store the information for your email delivery as part of the plan.
20) Click Save, positioned at the foot of the page, to activate your plan for delivery by Contactsend as you have defined, or click Save As Draft, to store your plan for later editing.

Note: If you don’t click Save or Save As Draft and you navigate away from the New plan page, the plan that you have created will be lost. When you save your plan, it is included in the list on the My plans page.