
With just one template, it’s possible to get differentiated email content according to the target audience. You can decide who displays specific lines and who doesn’t.
The customization of email content is done through the association of appropriate filters to individual lines. These filters are represented by the set of conditions on the values of the fields of the User Db associated with the template that for a given contact must be met in order for the line to be displayed in the email.
In order to configure the filters, and the relative conditions that make them up, it is necessary to connect a User Db to the template. The associated User Db provides the fields on which the conditions can be set.
How to associate a User Db to a template
The association of a User Db to a template can be done in two ways.
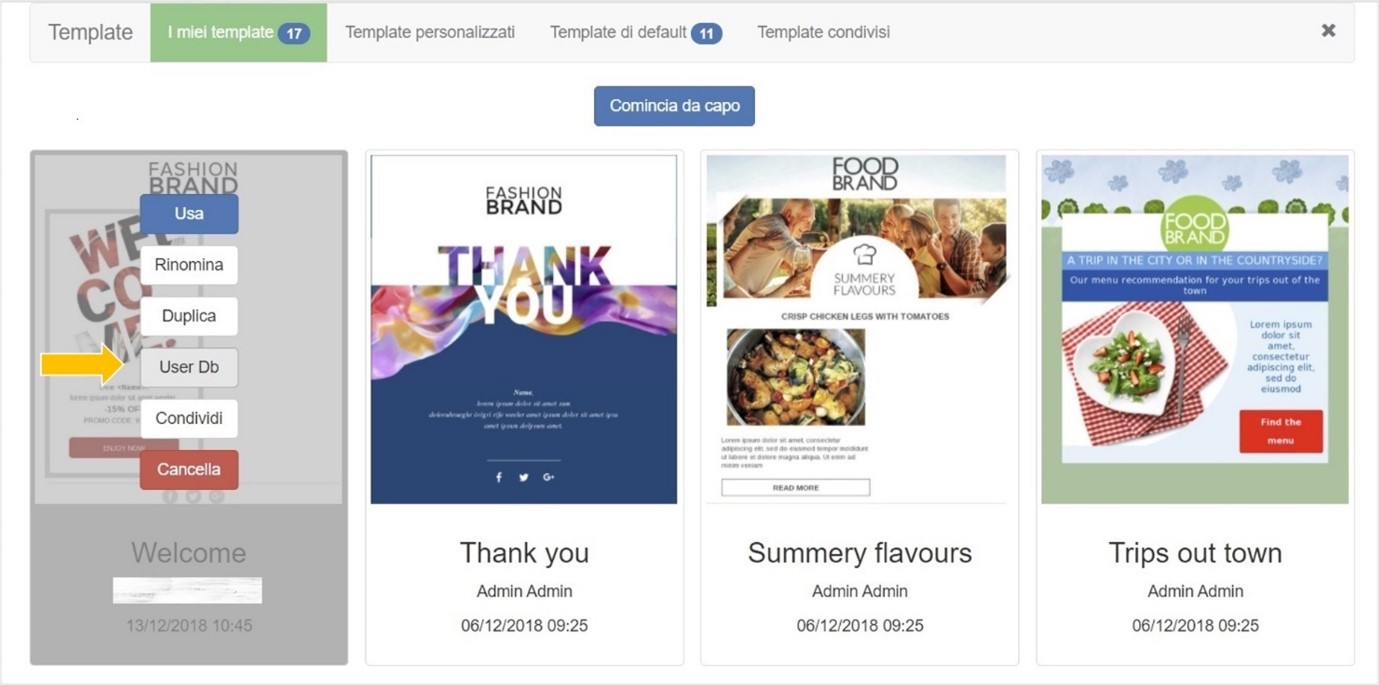
- Explicitly within the Email Designer template management panel as shown in the following image. By clicking on User Db the list of available templates will appear for you to choose from. The association, or the presence of an association, is indicated in the template’s tab in the library.
- Or implicitly, at the same time as creating a delivery, through the usual association of the mailing to a specific email group, and consequently to the User Db associated with it.
To remove the association, you must proceed in the opposite way. Click again on the User Db button and select the first option of the menu that does not show any User Db.
NOTES:
- If you duplicate a template that is already associated with a User Db, the link remains in the duplicate.
- By sharing a template with any sub-companies, the template available to them loses its association.
How are the filters configured?
Once the User Db has been associated, access the template by clicking Use to enter edit mode. Locate the row to be edited and select it.
At this point, the Filter Conditions option will appear in the right-hand menu. Click on it and proceed to create the filter. Enter the name and indicate whether the conditions to be entered must all be met (E) or at least one (O). Then continue with the enhancement:
- The field to be filtered. The system proposes, through a drop-down menu, all the fields associated with the User Db among which it is possible to choose the one of interest to set the condition.
- The relation operator that allows the condition to be satisfied (equal to, contains, greater than, etc).
- The value that must be assumed by the selected field of the User Db for the condition to be satisfied. The system proposes in the drop-down menu, up to a maximum of 1500 values actually assumed by the field in the records in the User Db being considered. However, it is always possible to set a desired value manually.
The same operation is carried out for each condition you wish to add, using the symbol +. You can configure up to 50 filters, and each filter can contain up to 10 conditions.
Once finished, save the filter. The application then proposes the overall list of filters. Click on the symbol ✓ to apply that specific filter to the line.
NOTE: Applying a filter to a row overwrites any previously associated filter.
From now on, that specific line will be displayed by each recipient according to the filter associated with it.
As an alternative to saving and applying the filter to the row, and if you do not think it is useful to save the changes made to a filter for later use, you can use the Apply without saving button to apply the changes made directly to a row.
NOTE: Modifying the User Db associated with a template does not remove any filters that may be associated with the rows in the template. It is necessary to remove the association manually, otherwise the deliveries may fail if the new User Db does not contain the same filtered fields as the previous one.